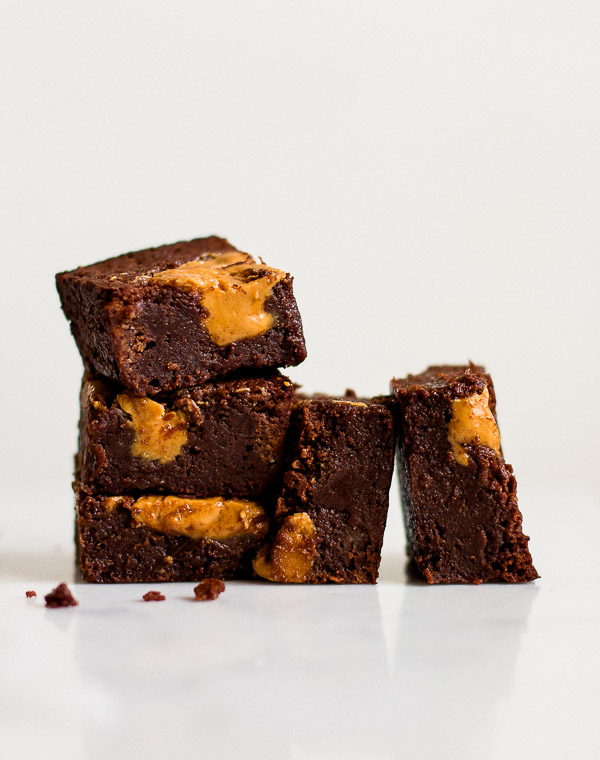
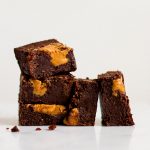
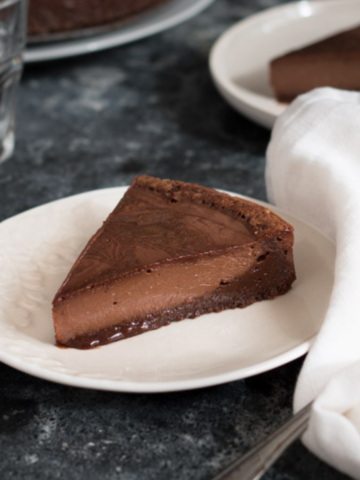
My new favorite brownie recipe—rich and fudgy with creamy chunks of peanut butter.
The moment I took one bite of these brownies, I immediately thought of YOU. I knew you would go crazy for them. I’m trying to think of how to describe just how insanely good they are, but I think you’ll just have to make them yourself to fully understand. Let me tell you this: almost everyone who tried them said these were the best brownies they’ve ever had, including the non peanut butter lovers (whoever you strange people are). All I can think of now is making them again, only this time with Nutella.
These brownies are extremely fudgy, thick, rich, and decadent, yet you won’t be able to stop eating them. At least I wasn’t. The peanut butter adds saltiness and a creamy texture, and combined with the brownie, brings a lot of joy into my life. I like to use ½ cup peanut butter because I’m me, but that can be too much for some, so the recipe calls for just ⅓ cup.
Would you like to save this recipe?
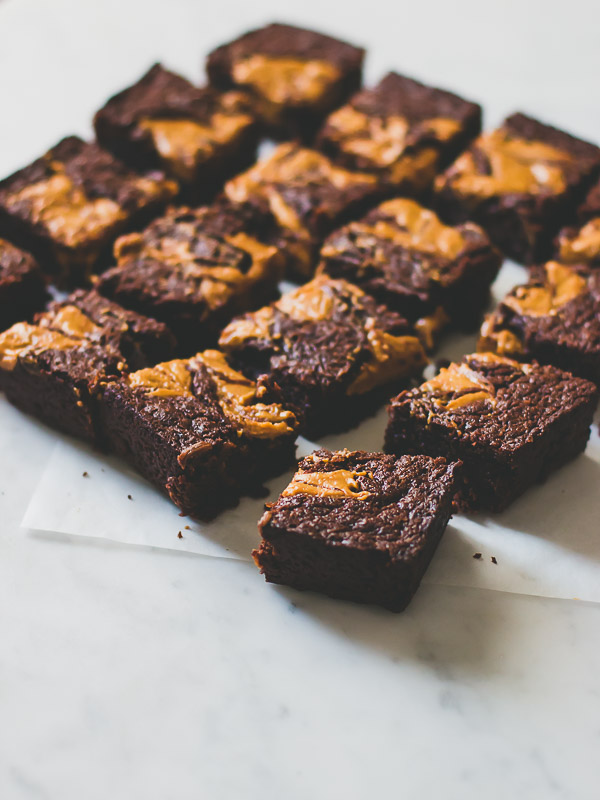
The number one rule with brownies is being careful not to overbake them. Overbaking yields dry and flavorless brownies that won’t be as fudgy as the ones you see in the photos (which look pretty good, don’t they?). Once the edges are set but the center still soft, and a toothpick inserted into the brownies comes out with very moist crumbs sticking to it, then it’s time to take them out of the oven.
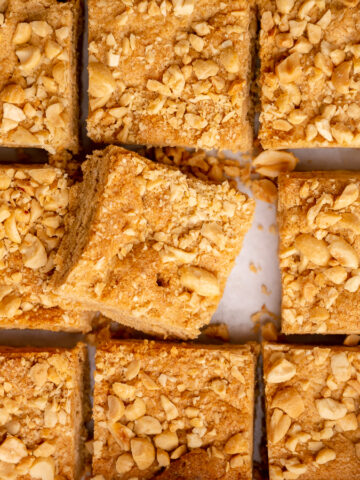
I recommend refrigerating these brownies for a few hours before cutting them so they make perfectly neat squares.
Peanut Butter Swirl Brownies
Ingredients
- 250 g/9 oz dark chocolate , coarsely chopped
- 180 g/6.5 oz unsalted butter , cut into small pieces
- 1 teaspoon instant coffee granules , optional
- 1 cup granulated sugar
- 3 large eggs , at room temperature
- ⅔ cup (90 g/3.2 oz) all-purpose flour, sifted
- ½ teaspoons salt
- ⅓ cup creamy peanut butter
Instructions
-
Preheat oven to 350F/175C. Line an 8×8-inch baking pan with parchment paper, leaving enough overhang on the sides for lifting the brownies out after baking.
-
In a large heat-proof bowl, place chocolate, butter, and instant coffee granules. Heat in the microwave in 20-second intervals, stirring in between each interval, until melted (or set it over a saucepan of simmering water, stirring occasionally). Stir in sugar until combined. Add eggs, one at a time, and whisk just until combined. Add flour and salt and fold, using a rubber spatula, just until combined. Do not overmix.
-
Pour batter into prepared pan and smooth the top. Spoon dollops of peanut butter on top of brownie batter (small ones, so they won’t sink). Then, using a knife or skewer, gently swirl the two batters together to get a marble effect. Bake for 20-25 minutes, until the edges are set but the center is still very soft. Be careful not to overbake. A toothpick inserted into the center of the brownies should come out with moist crumbs, not dry. Let brownies cool completely on a wire rack, then refrigerate until set for easy cutting. Lift brownies out of the pan using parchment paper and cut into squares.
-
Store brownies at room temperature or in the fridge in an airtight container for up to 3 days.
Recipe Notes
-Brownies can be frozen for up to 2 months. Thaw them on the counter, still covered, or overnight in the fridge.
-These brownies are thick but you can make thinner brownies by using ⅔ of the amount of ingredients. Start checking your brownies after 15-20 minutes.
-You can double the recipe and use a 9×13-inch pan. Bake for 30-35 minutes.

hellen says
Why sometimes the peanut butter sink into the brownie batter? Can you tell whats wrong? Thankyou!
Shiran says
Hi Hellen! It happens because the peanut butter is heavier than the brownie batter. The brownie batter in this recipe is pretty thick, so usually it’s be a problem. Try to use smaller chunks of peanut butter and swirl them evenly.
plasterers bristol says
Oh my these sound incredible. Thank you for sharing this delicious sounding recipe.
Simon
Brent Myrand says
Hi Shiran,
When you’re adding in the ingredients, are you supposed to keep the bowl on the heat the entire time, or should you take it off before adding the sugar, eggs, etc?
Shiran says
No, you need to remove it from the heat once the chocolate and butter are melted, then add the sugar and the other ingredients.
Avital says
What kind of brand of peanut butter do you recommend using?
Shiran says
You can use your favorite brand. Jif and Skippy are both great for this.
Madeleine says
I love these! The only change I made was using 1/3 butter and 2/3 oil—it was a half-stick of butter, and I measured the oil in grams. They ended up very fudgy and delicious.