If I had to pick just one scone recipe to use forever, these fluffy, flavorful classic cream scones would be the winner. Serve with your favorite fruit preserves or swirl of sweetened cream cheese. You can also add your favorite mix-ins such as chocolate chips, nuts, dried fruits, orange or lemon zest, or fresh berries or currants.
This post may contain affiliate links for products or services I use and love. As an Amazon Associate, I earn from qualifying purchases. I only endorse products that I personally love and use.
Table of contents
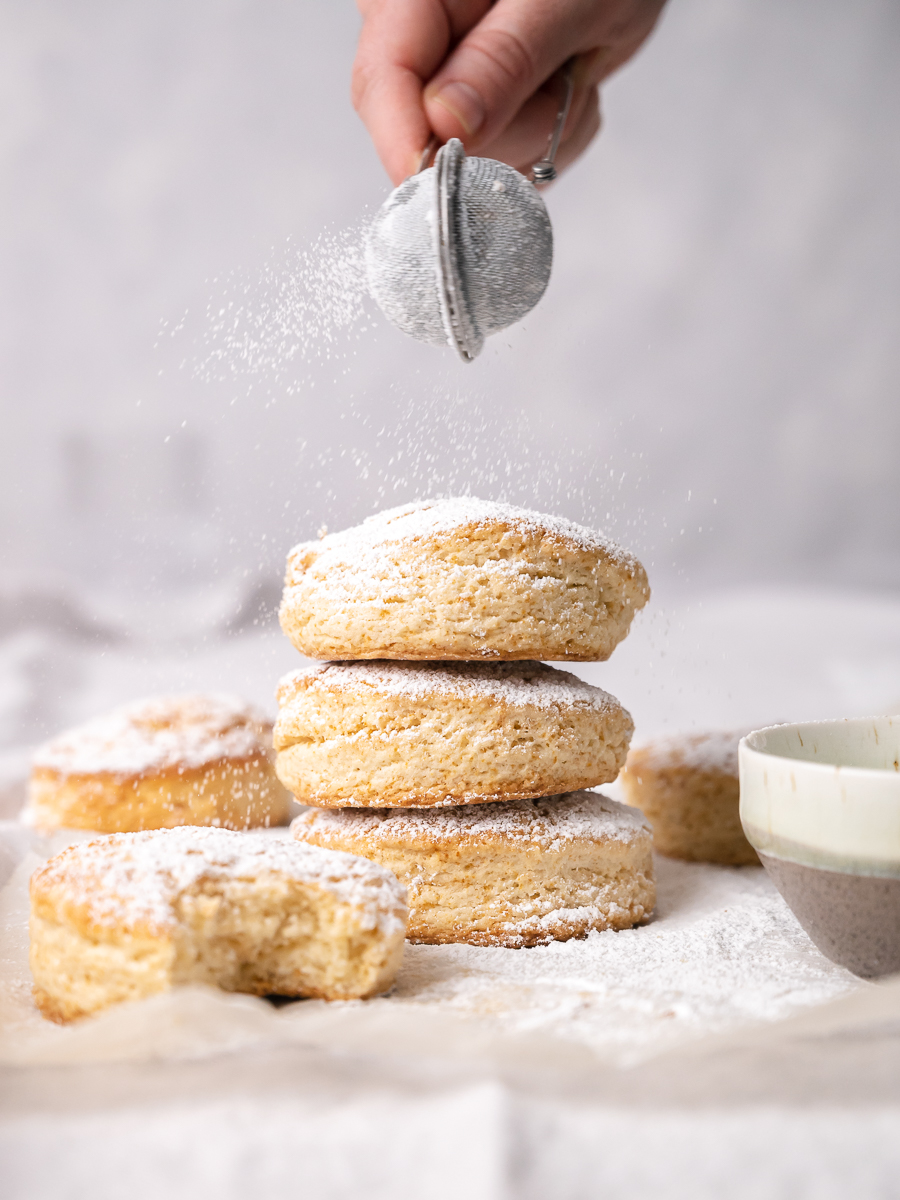
Scones are quick breads with just the right amount of sweetness. They are crunchy on the outside and soft on the inside, and are made from just a few simple ingredients: flour, butter, a liquid such as heavy cream or buttermilk, sugar (usually a small amount), and sometimes eggs. Eggs make scones richer in flavor but heavier in texture. Today’s recipe uses heavy cream as the liquid, which gives the scones a wonderfully subtle and sweet taste with a rich texture.
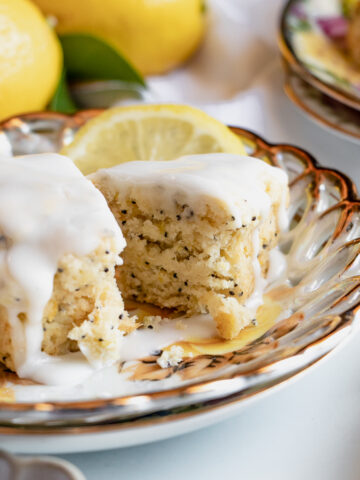
I know that some people don’t get the fascination with scones, and for a long time I was among them. I think it’s just because some of the scones out there don’t do justice to a real, traditional scone as they’re too dense and flavorless, but trust me that this recipe is the one. They are perfect either plain or with your favorite add-ins such as chocolate chips, nuts, dried fruit, orange or lemon zest, or fresh berries or currants.
Ingredients Used
- All-purpose flour, sifted
- Baking powder
- Granulated sugar
- Salt
- Cold butter (unsalted), cut into ¼-inch pieces
- Heavy cream , plus 1 tablespoon (for brushing the tops)
- Vanilla extract
- Optional add-ins of your choice (chocolate chips, dried fruits, nuts, etc.)
- Coarse sugar (turbinado/demerara), or powdered sugar for sprinkling
Would you like to save this recipe?
How to make cream scones recipe
- In a large mixing bowl, whisk together dry ingredients: flour, baking powder, sugar, and salt. Cut in the butter using a pastry blender or your fingers. Alternatively, you can pulse the ingredients in a food processor. Mix until mixture resembles coarse meal and there are uneven pieces of butter throughout.
- Add most of the heavy cream, leaving a bit for adding if needed. Add vanilla extract and stir with a spatula or fork until dough begins to form. If dough is too crumbly, add more heavy cream as needed—up to 1 cup in total. Don’t overmix. Gently fold in your add-ins, (chocolate chips, dried fruits, nuts, etc.) if using.
- Transfer dough to a lightly floured work surface and knead gently, about 5-6 times, until a ball forms.
How to cut scones
There are 2 common methods for cutting scones. The first is traditional rounds, which are made by patting the dough into a ¾-inch thick circle, then cutting out pieces using a biscuit cutter. This method will leave you with some extra dough that you’ll then need to press back into another piece and repeat the process.
The second method leaves you with no leftover dough. Simply tap the dough into a circle, then cut it into 8 wedges, like a pizza. This yields 8 large scones. For 12 smaller scones, you can cut the dough into two, then pat each half into a circle and cut into 6 wedges. The only rule is that each circle should always be ¾-inch thick.
Equipment Used
- Pastry Cutter or Food Processor: I like this food processor/blender combo because it works extremely well, is easy to clean, and saves space by utilizing one base. An excellent 2 in 1 option!
- 2.5 inch biscuit cutter: I used these assorted sized cutters but also love my biscuit cutters with handles, too.
- Rolling mat for pastry dough: I prefer this silicone mat because it also has helpful measurements for pies and tarts.
How to store scones
Store scones in an airtight container at room temperature for up to 4 days for maximum freshness. Alternatively, they can be frozen up to 1 month in an airtight container. Reheat in the oven for best results. Serve warm or at room temp.
Tips for making the best scones
If the dough doesn’t come together easily or if it’s too dry and crumbly, add a bit of water. If the dough is too wet and sticky, making it hard to handle, add a bit of flour. It’s super important to avoid overworking the dough as much as possible, though, because the less mixing you do, the softer the scones will be.
Use cold ingredients when making scones, otherwise the butter will melt fast and the dough will be messy and hard to work with. I place both the flour and sliced butter in the freezer for 15 minutes, and use cold heavy cream.
Serve scones at your next tea party. Save 10% sitewide at Art of Tea, coupon code: AOTAFFILIATE10 (Excluding gift cards and subscriptions)

More delicious scone recipes to try
- Banana Chocolate Chip Scones: Light and rich classic cream scones with chocolate chips and bananas.
- Triple Chocolate Scones: Dark, rich, and super chocolatey scones with bits of white and milk chocolate. They taste like a really good chocolate cake!
- Salted Caramel Apples Scones: Unbelievably delicious scones loaded with apples and salted caramel – my new perfect treat for breakfast!
- Pumpkin Scones with Maple Glaze: Full of warm fall flavors and topped with gooey, maple glaze.

Cream Scones
If I had to pick just one scone recipe to use forever, these fluffy, flavorful cream scones would be the winner. Serve with jam, butter, or sweet cream cheese spread
Ingredients
- 2 ⅓ cups (280 g/10 oz) all-purpose flour, sifted
- 1 tablespoon baking powder
- ¼ cup (50 g/1.7 oz) granulated sugar
- ½ teaspoon salt
- ⅓ cup (75 g/2.6 oz) cold butter (unsalted), cut into ¼-inch pieces
- 1 cup heavy cream, plus 1 tablespoon (for brushing the tops)
- ½ teaspoon vanilla extract
- ½ cup add-ins of your choice (see post for ideas), optional
- Coarse sugar (turbinado sugar, demerara sugar) or powdered sugar, for sprinkling
Instructions
-
Preheat the oven to 400F/200C. Line a large baking sheet with parchment paper or a silicone baking mat. Set aside.
-
In a large mixing bowl, whisk together dry ingredients: flour, baking powder, sugar, and salt. Cut in the butter using a pastry blender or your fingers. Alternatively, you can pulse the ingredients in a food processor. Mix until mixture resembles coarse meal and there are uneven pieces of butter throughout.
-
Add most of the cup of heavy cream, leaving a bit for adding if needed. Add vanilla extract and stir with a spatula or fork until dough begins to form. If dough is too crumbly, add more heavy cream as needed—up to 1 cup in total. Don’t overmix. Gently fold in your add-ins, if using.
-
Transfer dough to a lightly floured work surface and knead gently, about 5-6 times, until a ball forms.
-
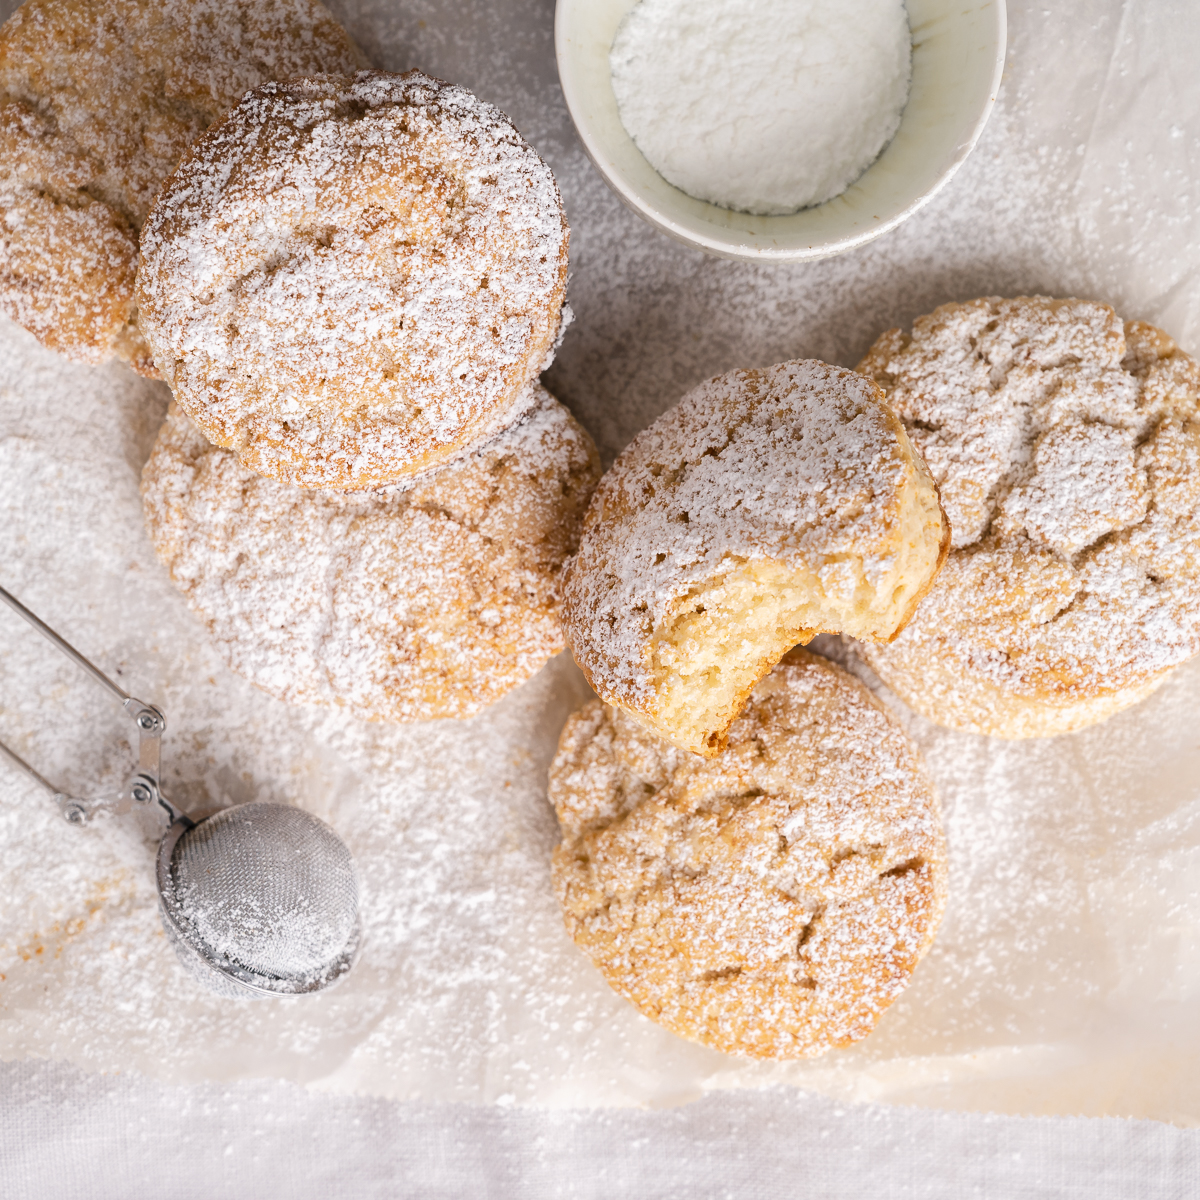
For round scones: Pat dough into a 9×6-inch rectangle about ¾-inch thick. Using a 2.5-inch (6.5 cm) biscuit cutter, cut out 6 rounds. Press the leftover dough into another ¾-inch thick piece and repeat the process to get 2-3 more biscuits.
-
For triangular scones (easier method): Pat dough into a 9-inch (23 cm) circle about ¾-inch thick. Cut circle into 8 even wedges.
-
Place scones on prepared baking sheet. Brush the tops with heavy cream and sprinkle with coarse sugar. Bake for 15-18 minutes, or until golden brown. Transfer baking sheet to a wire rack and allow to cool for 10 minutes. While scones are still hot, sprinkle again with coarse sugar for extra crunchiness or dust with powdered sugar.
-
These scones are delicious either warm or at room temperature.
-
Scones are best eaten the same day they are made, but can be frozen for up to 1 month. If you want to serve them warm, reheat in the oven before serving.
Recipe Notes
Notes:
If the dough doesn’t come together easily or if it’s too dry and crumbly, add a bit of water. If the dough is too wet and sticky, making it hard to handle, add a bit of flour. It’s super important to avoid overworking the dough as much as possible, though, because the less mixing you do, the softer the scones will be.
Use cold ingredients when making scones, otherwise the butter will melt fast and the dough will be messy and hard to work with. I place both the flour and sliced butter in the freezer for 15 minutes, and use cold heavy cream.

Jess @ whatjessicabakednext says
Being British I absolutely love scones! These look perfect and so fluffy! You’ve definitely got to serve scones with cream and jam. Yummy recipe, Shiran!
Shiran says
Thanks Jess!
Joan Hayes says
These scones are just beautiful! I love the sprinkling of raw sugar on top! I can’t wait to make these!
Shiran says
Thank you so much, Joan!
Beeta @ Mon Petit Four says
Your scones look beautiful! I love a good scone with some jam. I agree, too many scores out there are dry and dense :/ Love all your tips!
Shiran says
Thank you so much! 🙂
Winnie says
סקונס עוד לא הכנתי אף פעם, ואם את אומרת שזה המתכון שהייתי בוחרת אז אני מתה לנסות כבר.
אני שומרת לי את המתכון 🙂
Kate says
These scones were amazing, I made them this past Saturday morning, and have been thinking of them ever since! They were by far the lightest scones I’ve ever eaten, and will definitely be joining my recipe book :). I mixed the heavy cream with the vanilla extract, and the tops came out really well with the extra vanilla hit. Loved them!
Shiran says
Thank you so much for your sweet comment, Kate! I’m so glad you enjoy them as much as I do! 🙂
Marta says
These are the best scones I’ve ever made, no doubt about it! I’ve been trying different scone recipes for years but they are always such a disappointment – too dry, too dense, too flat… Now the search is over, thank you so much!
Shiran says
I tried so many recipes before this one, so I know what you mean! I’m glad you like the recipe!
KATE says
Hi there I just wondered what the cream in the picture was? Did you make your own whipping cream? And is that jelly with it? Thanks
Shiran says
Hi Kate, yes, that’s whipped cream that I made myself and jelly.
Linda says
Thank you! I received a packaged mason jar for a scone recipe. but after blending, I knew it was too dry! I incorporated your add’l vanilla, and added some cream, rolled out, cut into triangles, and Voila! Heaven! Very moist and flaky and flavorful (I used chopped cranberries). Thank you! I know I will make these exactly as you prescribed soon.
Emily says
Out of curiosity, you call them cream scones but use butter. I’ve never been a huge fan of scone recipes that rely solely on cream without butter. Thoughts?
Shiran says
Hi Emily, they are called cream scones because of the cream in the recipe. I like to add butter to my scone recipes to add richness and flavor.
Lori says
Hi Shiran,
I used to have a recipe for strawberry cream scones that I’ve lost. I found your recipe looking for a cream scone recipe to use instead and can’t wait to try it! I remember the old recipe used dried strawberries (maybe freeze dried?) and I would steam the strawberries to rehydrate them. Can you suggest the best way to incorporate them into your recipe —at what point would I add them in?
Thanks so much!
Lori
Shiran says
Hi Lori, add them after mixing the flour with the butter, and before adding the cream. Gently mix the dough after adding them.
Yasmin says
Hi Shiran. I’ve made these twice now – twice in two days!
Didn’t have plain flour – so I used self raising and no baking powder. They turned amazing! My husband, who detests scones, loved them. Thank you so much.
Yasmin says
Hi Shiran. I’ve made these twice now – twice in two days!
Didn’t have plain flour – so I used self raising and no baking powder. They turned out amazing! My husband, who detests scones, loved them. Thank you so much.
Lee Delano says
Do you use salted or unsalted butter in the cream scone recipe
Stephanie @ Pretty.Simple.Sweet. says
Hi Lee, I do use unsalted butter and then add in the salt as stated in the recipe. I will edit this recipe to further clarify that – thank you for bringing this to my attention!
Amberley says
I’ve been using this recipe for scones faithfully for a year now and it has never failed me! Scones has now become the go-to for my family and my mom asks me regularly to make these for her to bring to work! I’ve doubled AND tripled this recipe with ease and have been storing the scones in the freezer with no issue. 🥰