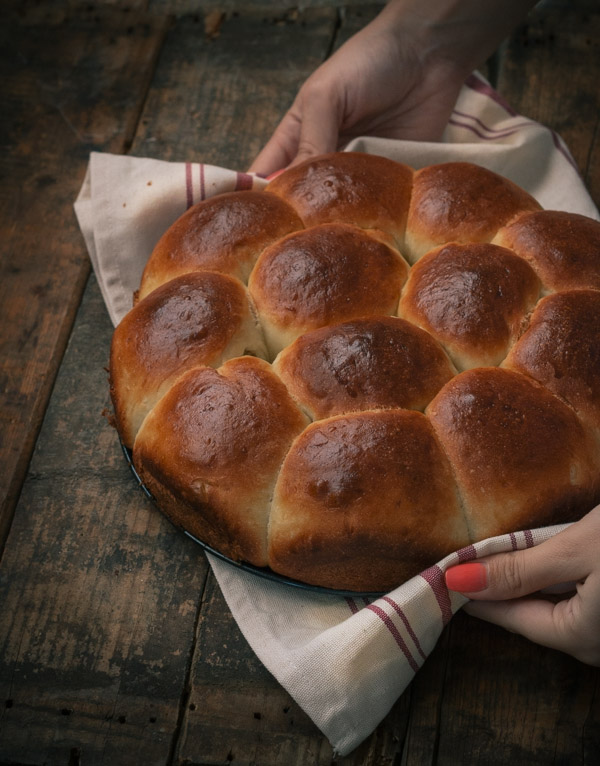
Pillowy and fluffy homemade rolls from scratch. These are so perfect, you’ll never need another roll recipe again.
Even for a sugar lover like myself, nothing in the world beats the smell of freshly baked bread – except maybe the taste. I can easily eat 2 of these rolls the moment I open my eyes in the morning, then another 2 for lunch. By the time dinner rolls around, there’s really not many of them left. For this reason, I’ve learned to immediately freeze some of the rolls after baking them. They’re not completely safe in the freezer (thawing isn’t that hard, after all), but I can at least avoid the temptation caused by seeing them constantly.
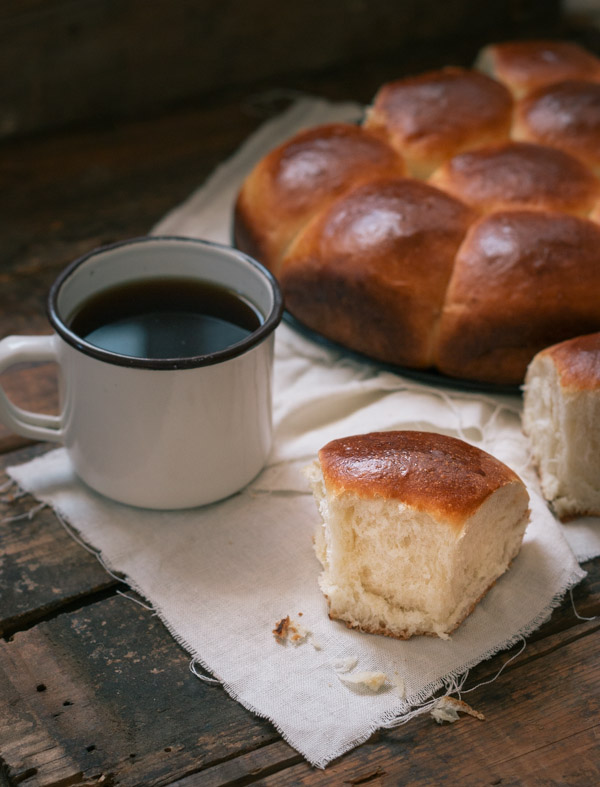
These rolls are fluffy, soft, and airy – exactly how you’d expect perfect rolls to be. Every bite is heavenly, especially if you spread some Nutella on it. There’s a place near my house that serves the tastiest breakfasts, complete with the tastiest bread. When Erez tasted these rolls, he said they tasted just like our favorite buns from there.
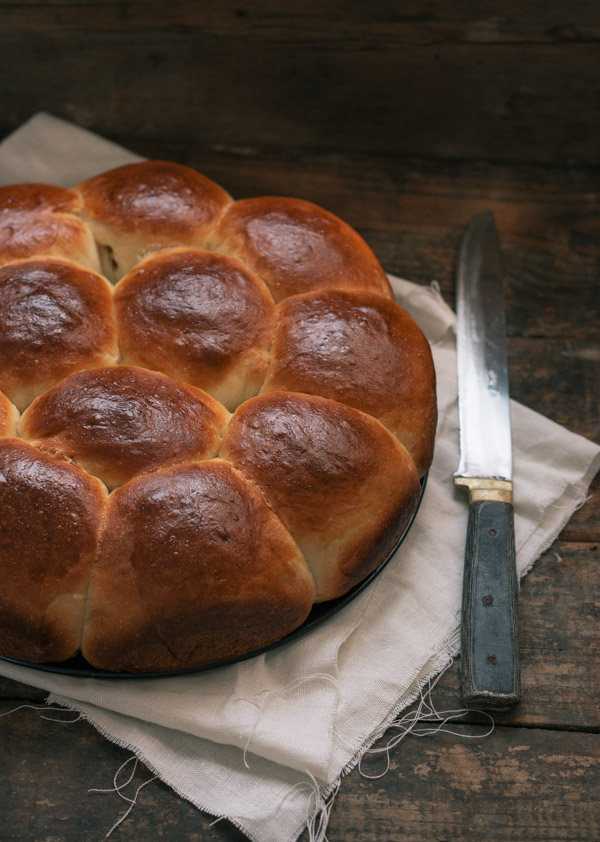
When working with yeast, there are few important rules to follow. Since the recipe calls for active dry yeast, you’ll have to go through the process of ‘proofing’ the yeast, which means checking if it’s dead or not. If you’re using instant yeast, then you won’t need to do this; simply mix all of your ingredients together in the mixing bowl and start kneading. To proof dry active yeast, you’ll need to use lukewarm water. Sprinkle the yeast over the water, give it a very light stir (making sure that some of the yeast stays on top), and let it sit for 5-10 minutes. If the yeast gets bubbly (even a little), then you’re ready to go. Otherwise, you’ll need to get some new yeast and start over.
Next, you’ll need to boil the milk, add the butter, mix until melted, and pour the mixture into a mixing bowl (or your mixer bowl). Only when it’s lukewarm you can add the other ingredients. By the time the yeast is ready, it should be fine. Add all ingredients except flour to the milk and mix to combine, adding the flour after. After that, it’s time to knead. The easiest way is by using your mixer, but if you don’t have one, you can knead by hand.
Now you see, flour is tricky. The amount you’ll need might change each time you make any bread. It’s affected by a number of factors such as weather and even the brand. When the weather is humid, you might need to add more flour. If you find the dough too dry, on the other hand, add a bit more water or milk.
When the dough starts to come together, it should look moist and somewhat sticky, but if you press it with your finger, it shouldn’t stick to it. Since we want these rolls to be as soft as possible, don’t be tempted to add a lot of flour. It’s perfectly normal if the dough is still quite sticky at this stage. After it rests, it will lose its stickiness and will be easy to handle. By the time you’re done kneading, the dough should be elastic, pulling away from the sides of the bowl but still sticking to the bottom.
If you want to make these rolls the night before, follow all of the steps up to when you shape the dough into balls and place them in the pan. Instead of letting them rise, cover and place in the fridge. In the morning, take the rolls out of the fridge, let them warm to room temperature and then to rise. They’ll rise within about an hour. The rolls should touch and press against each other after rising.
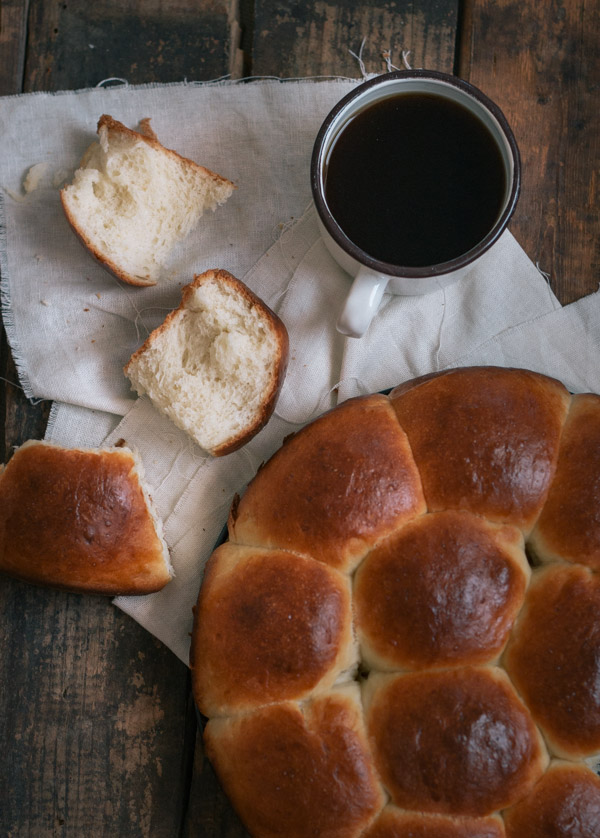
You can also check out my cinnamon rolls recipe that uses a similar dough, where I share more tricks and tips.
Dinner Rolls
Ingredients
- ¼ cup water , lukewarm*
- 2 ¼ teaspoons (7 grams or 0.25 ounces) active dry yeast
- ¾ cup whole milk
- ⅓ cup (75 grams or 2.6 ounces) butter
- 1 large egg
- ¼ cup (50 grams or 1.7 ounces) granulated sugar
- 1 ¼ teaspoons salt
- 3 ¼ cups (450 grams or 16 ounces) all-purpose flour, plus a few additional tablespoons
- 1 egg or 1-2 tablespoons melted butter , for brushing the tops
Instructions
-
Place water in a cup or small bowl and sprinkle yeast over it. Stir gently and let sit for 5-10 minutes until frothy. This step is for ”proofing” the yeast; if it doesn’t get bubbly, discard and repeat with new yeast.
-
Meanwhile, in a small saucepan, heat milk just until boiling, then remove from heat and add butter. Mix until butter melts.
-
In the bowl of a standing mixer (or If you don’t have a mixer, do the whole process by hand), add the lukewarm milk mixture, egg, sugar, and salt. Whisk by hand. Add the water-yeast mixture and mix until combined. Add 3 ¼ cups flour. Fit the mixer with a dough hook and mix on low speed (or by hand with a wooden spoon) for 1-2 minutes, until combined and a dough has formed.
-
Keep kneading for about 3 minutes on medium-low speed, adding more flour as needed, 1 tablespoon at a time, until the dough feels tacky and moist but does not stick to your hands when pressed. Once it has reached this consistency, keep kneading on medium-low speed in the mixer for another 5 minutes, or by hand on a floured surface for 7-8 minutes, until the dough is elastic and pulls away from the sides of the bowl, yet sticks to the bottom. Don’t be tempted to add a lot of flour – the dough should be slightly sticky, and will be easier to handle after resting. Alternatively, if you feel that the dough is too dry, add a bit water or milk until you reach the desired consistency.
-
Place dough in a lightly greased bowl and cover with plastic wrap. Let rest in a warm place for 1.5 -2 hours or until dough has doubled in size.
-
Grease a 10-inch round pan. When the dough has risen, gently punch it to remove air. Divide the dough into 12 equal portions and shape each one into a ball. Place on prepared pan – 9 around the edges and 3 in the middle. There should be gaps between them. Cover and let rest for 45-60 minutes or until again doubled in size.
-
Preheat oven to 375F/190C.
-
Brush the rolls with melted butter or an egg wash (egg mixed with 1 tablespoon water) for a shinier look. Bake in the oven for 20 minutes or until the tops have browned and sound hollow when you tap them. A skewer inserted into the rolls should also come out clean. If the rolls brown too fast, cover loosely with aluminum foil. Allow to cool on a wire rack until warm.
-
Serve warm or at room temperature.
-
Rolls are best the same day they are made, but can be frozen for up to 2 months.
-
*Lukewarm water should be around 110F-115F. Any hotter and the yeast will die. If you don’t have a thermometer, then it should feel lukewarm to the touch.


Elisa @ Insalata di Sillabe says
Nothing beats freshly baked bread, I could eat it all day long! Actually, I have to admit I’m a bit intimidated by the whole process of making bread myself at home, but these look too good not to overcome my fears and give them a go!
xo, Elisa
Shiran says
So the truth is that it does seem scary at first to most of us, but, after you try it a few times, it really becomes very easy and natural, and you can make any other bread you like! It’s worth the try, trust me 🙂
Nicole ~ Cooking for Keeps says
So soft and pillowy!
immaculate says
I guess we both love bread, I just made honey wheat roll and they only lasted a couple of hours. I love your tip for immediately freezing after baking will definitely do that next time. Lovely pics!!
Shiran says
So we definitely have something in common! 🙂 Thank you! Sometimes I make a double batch and freeze it, it tastes just as good after thawing!
Angie@Angie's Recipes says
These look so very soft and awesome!
monivanf says
Thanks a lot for this beautiful recipe
Winnie says
אני מתה על מאפי שמרים והלחמניות ניראות מעולהההההההההה
אנחנו קוראים לזה פה “לחם תלישות”
רק למרוח הרבה חמאה ולא צריך יותר כלום 🙂
rabz says
Hi Shiran. In case i use instant yeast, I just have to skip the first step, right? Or do I have to change the quantities of other ingredients as well. Thanks
Shiran says
Skip part 1 and instead, mix the yeast with the flour. You don’t need to change anything else in the recipe.
Fardeenah says
Hello Shiran
Thank you for this beautiful recipe. I will try it today. I was wondering if I can cook the rolls on the baking tray or do I HAVE to put it in a round pan? Thanks.
Fardeenah says
Hello Shiran
I was wondering if I can cook the rolls on the baking tray or do I HAVE to put it in a round pan? Thanks.
Shiran says
Usually you can, but in this recipe the filling might leak out to the tray, so I recommend baking it in individual dishes or a pan. It can be a square pan as well.
Fardeenah says
Thanks a lot. I managed to find a round pan and I’ve made the bread three times already. We all love it. Soft and fluffy!
Sally says
Hello, I just love all your recipes!
One question, this is my second time making dinner rolls but the dough seems a little dry to me. Also after baked it was not so airy but closer to a biscuit type roll. But tasted fantastic!! When shaping the rolls it cracks up and does not make a pretty round shape as yours.
Thank you!
What part do you think I am doing wrong? I followed the ingredients and step. (Used instant yeast, mixed it with the flour)
Sally says
Hello, I just love all your recipes!
One question, this is my second time making dinner rolls but the dough seems a little dry to me. Also after done baking it was not so airy but closer to a biscuit type roll. But tasted fantastic!! When shaping the rolls it cracks up and does not make a pretty round shape as yours.
What part do you think I am doing wrong? I followed the ingredients and step. (Used instant yeast, mixed it with the flour) Maybe because I used instant yeast and left out the 1/4 water for the “proofing yeast” ?
Should I add 1/4water also when using instant yeast?
Thank you!
Miriam says
Hi, your recipes all look great and the ones I tried were excellent! Thank you!!
I Have a question- do you have any non-dairy dinner rolls recipe? Or is there any way to convert this one? It looks so good but I would prefer to keep it non-dairy.
Shiran says
Hi Miriam. You can use water and oil instead of milk and butter (same amount). It would work but it would affect the flavor and texture so the result won’t be the same.