Making a gorgeous lattice pie crust is much easier than you may think! Here’s a complete step-by-step guide for making the perfect lattice pie crust to top your pies this holiday season (or anytime of year)!
I just love the look of a lattice pie crust. It’s a classy and beautiful way to top any fruit pie, like caramel apple pie and caramel pear pie. And while it’s not a necessity, it is a fun way to spruce up your pie game. So if you’re going to be making pies this upcoming holiday season, here’s your crash course on perfecting lattice pie crusts.
How to make a lattice pie crust
The first step is so make your pie dough. For a recipe and tips on making perfect pie crust, check out that blog post first. It makes enough crust for a bottom layer to line your pie pan with, and enough for a lattice crust. Once your dough is chilled for at least an hour, head back over to this post so we can make lattice pie crust together (woo!).
To start:
Line a 9-inch pie pan with the first circle of dough by rolling it out to a 12-14-inch circle on a floured surface. Line your pan with the crust and fill it with your filling of choice. Next, roll out the second circle of dough to a 12-inch circle .
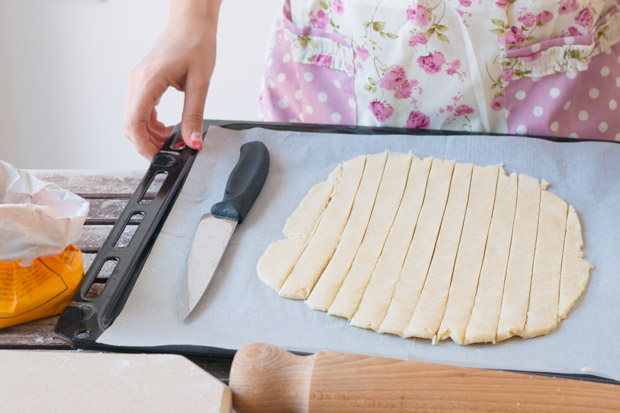
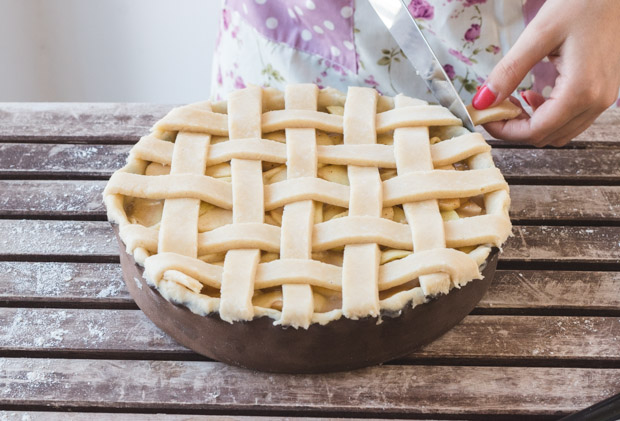
Cut the circle into 10 strips using a sharp knife or a pastry/pizza wheel (for a 9-inch pie pan, you’ll need to roll the dough out into a 12-inch circle, and each strip will be around ¾-inch/2-cm thick).
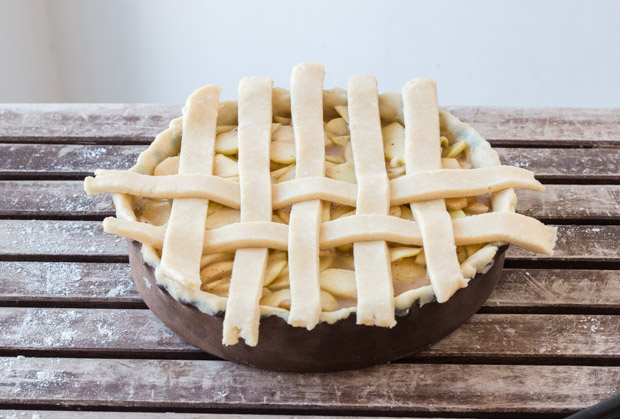
Lay 5 parallel strips on top of the filling, evenly spaced. Let’s name those strips 1-5.
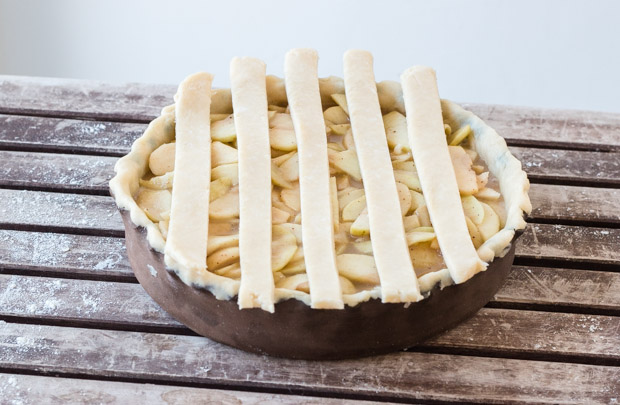
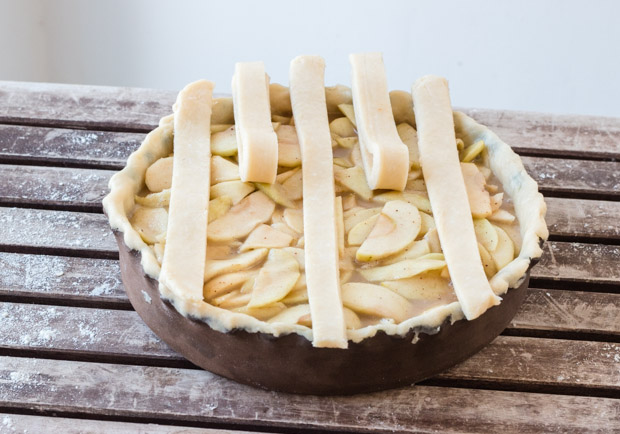
Fold back every other strip (2,4).
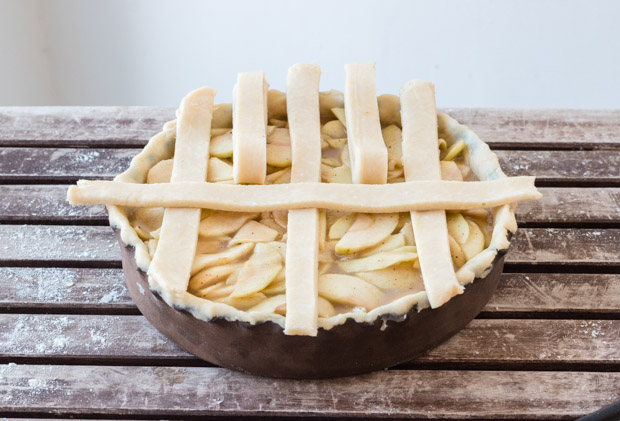
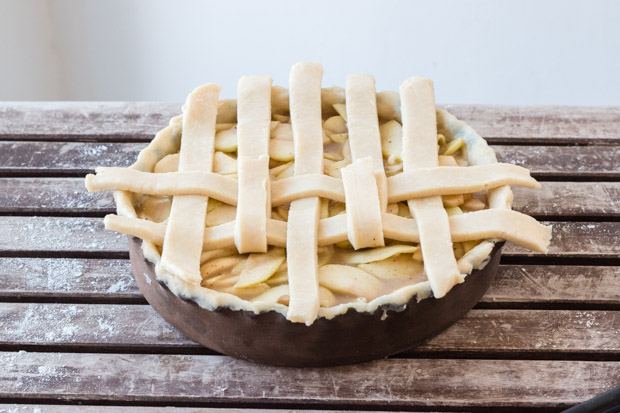
Place a long strip in the center, perpendicular to the others (let’s call it 6).
Unfold strips 2,4.
Fold back strips 1,3,5.
Place a strip parallel to strip 6.
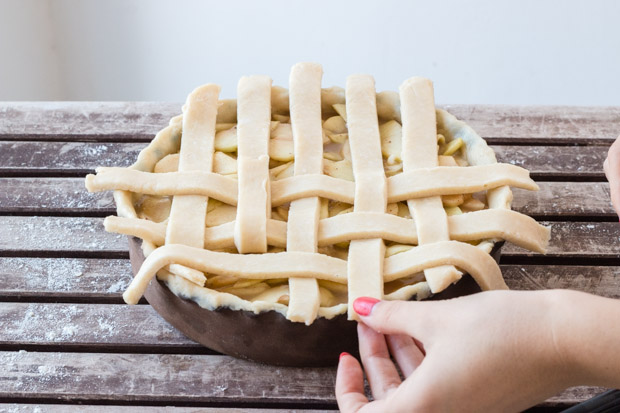
Unfold strips 1,3,5.
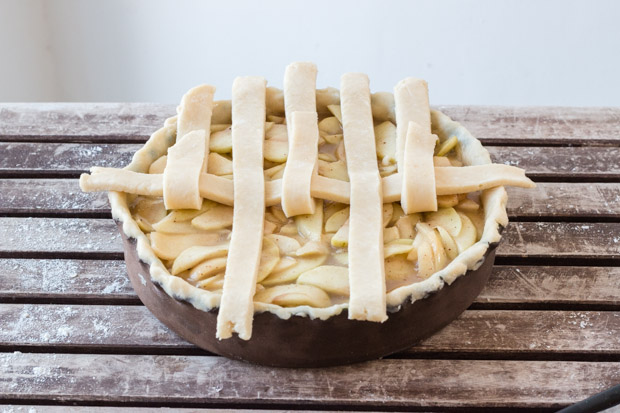
Fold back strips 2,4.
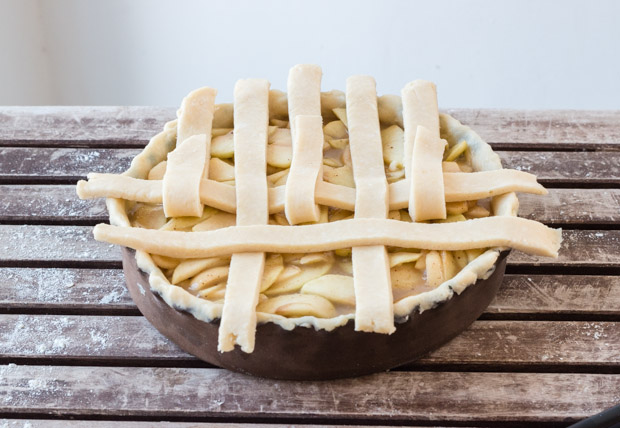
Place a strip parallel to strip 6, then unfold strips 2,4.
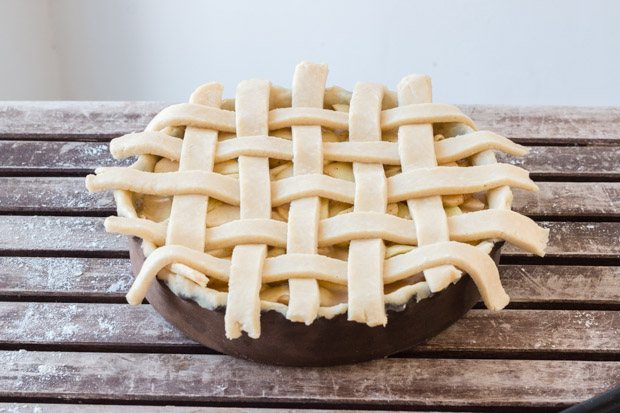
Repeat the same with the other side.
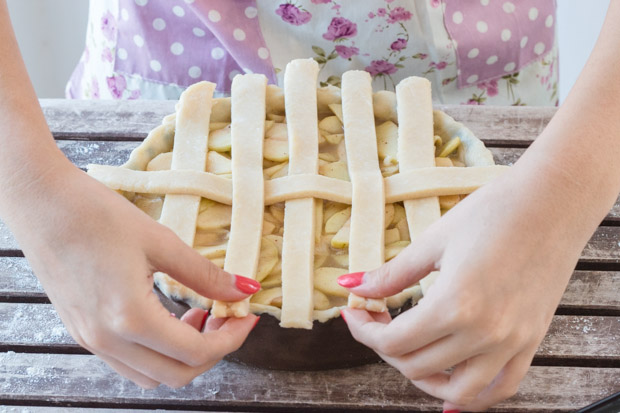
Using a sharp knife, trim any excess dough around the edges. Then, crimp the edges with your fingers or a fork to secure.
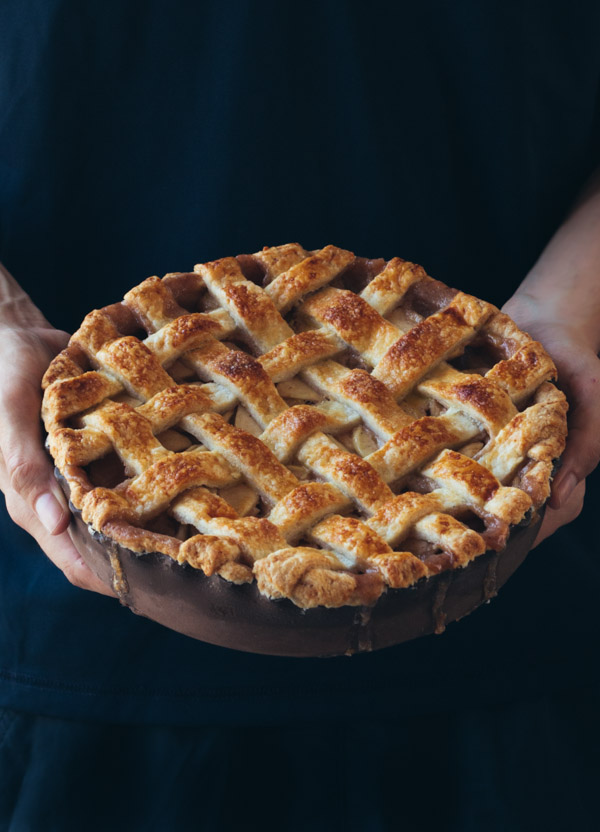
At this point, I highly recommend placing the pie in the refrigerator for 5-10 minutes to chill up a bit more before baking. Then, brush with a light egg wash if you choose, and your pie is ready for the oven. Enjoy your masterpiece and take photos to show off your baking brilliance!
Pro tip: Always work with chilled dough. No too cold since cold dough can easily break (leave on the counter for 5-10 minutes to soften), and not warm since it will melt and become sticky and nearly impossible to work with. Throughout all the steps in making the dough, whenever you feel like it has warmed up, pop it in the fridge or freezer for a few minutes to chill. I also recommend using flour on the surface you’re working on to prevent sticking.
My favorite recipes using lattice pie crust
- Caramel Apple Pie: Cooked and caramelized juicy apples take this apple pie to new heights.
- Caramel Pear Pie: Ripe pears combined with caramel sauce make a for a perfect holiday pie!
- Cherry Pie: Nothing beats a scrumptious, juicy cherry pie.


Nicole ~ Cooking for Keeps says
I never fail to mess up lattice crusts! Yours is SO pretty, I’m following your directions next time!
Shiran says
Thank you so much Nicole! It’s definitely easy, you have to try it next time!
Jess @ whatjessicabakednext says
Wow, this looks great! I’ve never made a lattice pie crust before! You’ve made it look super easy! 🙂
Shiran says
So now that you know it’s not that hard, try it! I’m sure it would be easy for you with all the amazing recipes on your blog!
Elisa @ Insalata di Sillabe says
Wow! I would have never thought it could be so easy! Now I can’t wait to go make a pie just to try this lattice crust! I’m sure everyone will be impressed 🙂
xo, Elisa
Shiran says
I’m sure they will! It’s worth the effort!
Thanks Elisa 🙂
MEL says
May I ask, where did you purchase that pie mould ? It looks great for making pies.
Shiran says
Hi Mel, I purchased it in Europe in a random store, but maybe look for a ceramic pie dish to find something similar. There are many great dishes out there for making pies!
Roger Miller says
It’s available on Amazon, $13.00. It’s actually a “tart” pan with a removable bottom.