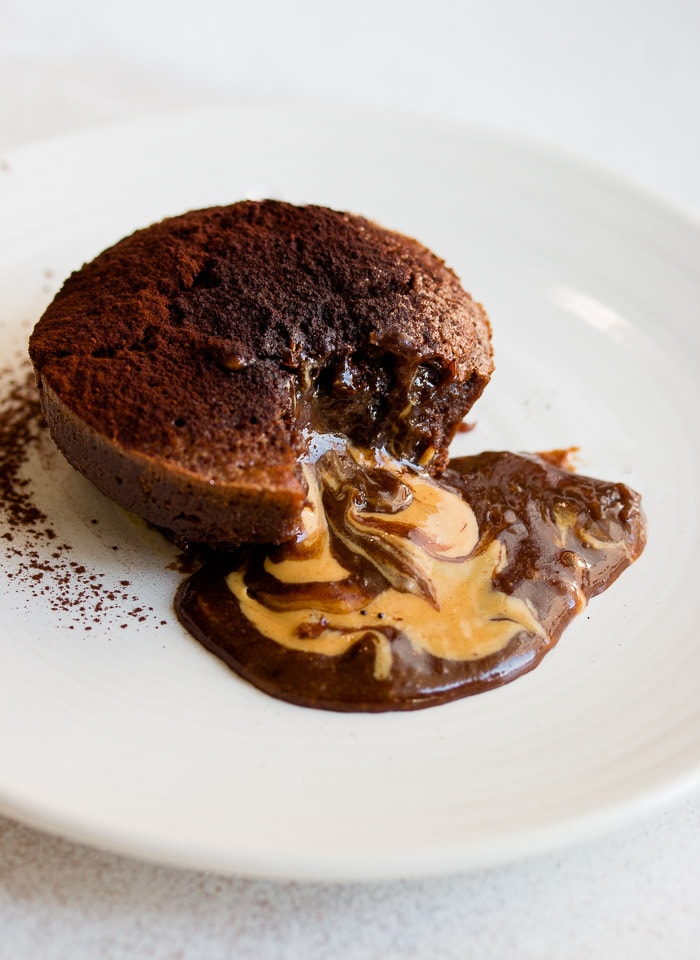
Warm, fudgy peanut butter chocolate lava cakes are a simple yet decadent dessert. These molten lava cakes filled with creamy peanut butter come together in minutes and are best served with a scoop of vanilla ice cream.
I am no stranger to combining chocolate and flavor in desserts. I’ve made chocolate peanut butter cheesecake, cupcakes, and even chocolate peanut butter mousse cake. I believe the perfect dessert is one that you can’t help but taking only one more bite until the entire thing is gone. These chocolate lava cakes are just that – warm cake on the outside with a molten peanut butter center – and individually sized so you don’t have to share!
Perhaps my favorite thing about this Chocolate Peanut Butter Lava Cake is how simple it is to make. Once you’ve mastered the basic chocolate fondant, or molten chocolate lava cake, adding in a dollop of peanut butter to the center is a no-brainer. These lava cakes can be made by hand and baked in under 10 minutes, perfect for a Valentine’s Day dessert.
The tricky part is knowing when to take them out of the oven – a few seconds too long can turn your warm molten center into dry cake. I’m sharing some of my tips learned over the years of making these cakes to give you the best Chocolate Peanut Butter Lava Cake recipe ready for any celebration.
Preparing Your Ramekins (And Other Alternatives)
I highly recommend using ramekins when making this Chocolate Peanut Butter Lava Cake, finding that the regular 6-ounce sized ones are perfect for individual servings (this recipe makes 4 cakes). These are good dishes to have on hand to use for my Molten Chocolate Cake, Individual Apple Crumble, and Chocolate Pudding.
If using ramekins, be sure to grease them well with butter and dust with cocoa powder. This step helps the chocolate lava cakes release without breaking when serving. If you don’t have ramekins, you can use aluminum foil cupcake cups. These are slightly smaller than the ramekins so you will make more than four (probably one more, so five total).
How to Make Chocolate Peanut Butter Lava Cake
As I said earlier, these chocolate peanut butter molten lava cakes are really simple to make. You begin by melting your chocolate and butter together in the microwave, or over a pan of simmering water. Let this cool while you prepare the rest of your ingredients.
Would you like to save this recipe?
In a separate bowl, whisk together the eggs and sugar until well combined. After this you will want to mix the batter as little as possible, so be sure to get rid of any lumps. Add the egg mixture to your slightly cooled chocolate mixture and mix until combined. Gently fold in the flour and salt until you have a smooth batter.
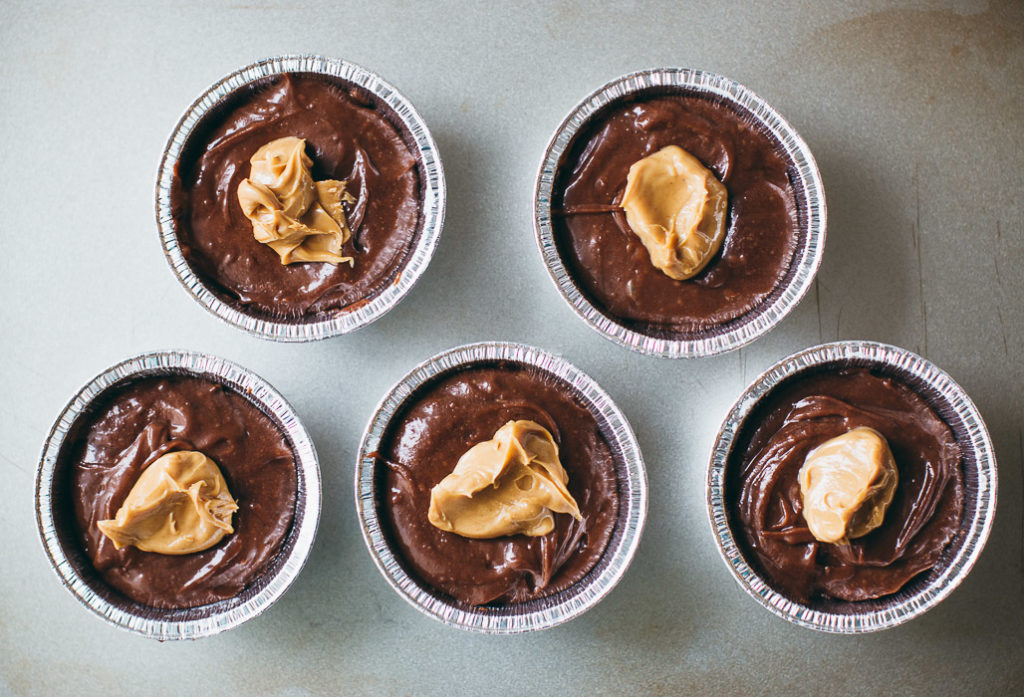
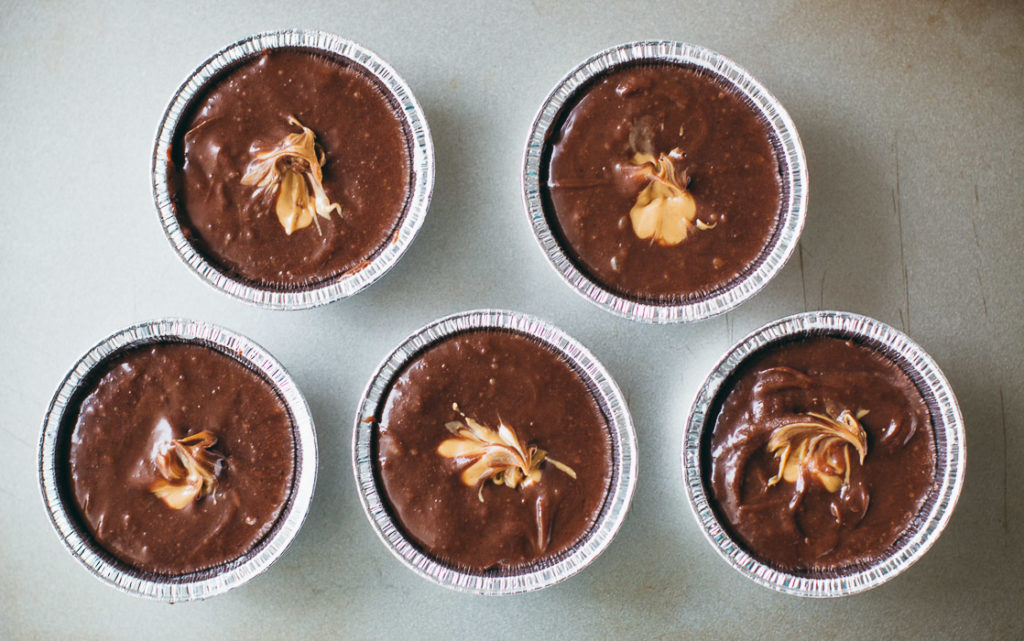
Divide the batter evenly between your prepared ramekins. With a clean spoon, place a heaping teaspoon of peanut butter on top of the center of each dish, gently pressing down until only the top is still exposed. See the photo above for reference.
Bake the lava cakes for about 11-13 minutes, until a thin crust has developed on top of the cake and the center jiggles slightly when shaken. You want a warm center, so the top of the cake may still be soft even if the sides are firm.
Timing is the most important step in this recipe. If you remove your chocolate lava cakes too soon from the oven you’ll have a chocolate peanut butter soup. Too late, and you’ll find yourself with a dry cake. I like to check the cakes every 30 seconds after 8 minutes, gently giving the ramekin a gentle shake to see if it jiggles. If you’re new to fondant or lava cake I suggest testing one before you bake the rest of them in the oven. This way, if you mess up you still have five more chocolate molten lava cakes to bake.
Serving the Chocolate Peanut Butter Lava Cake
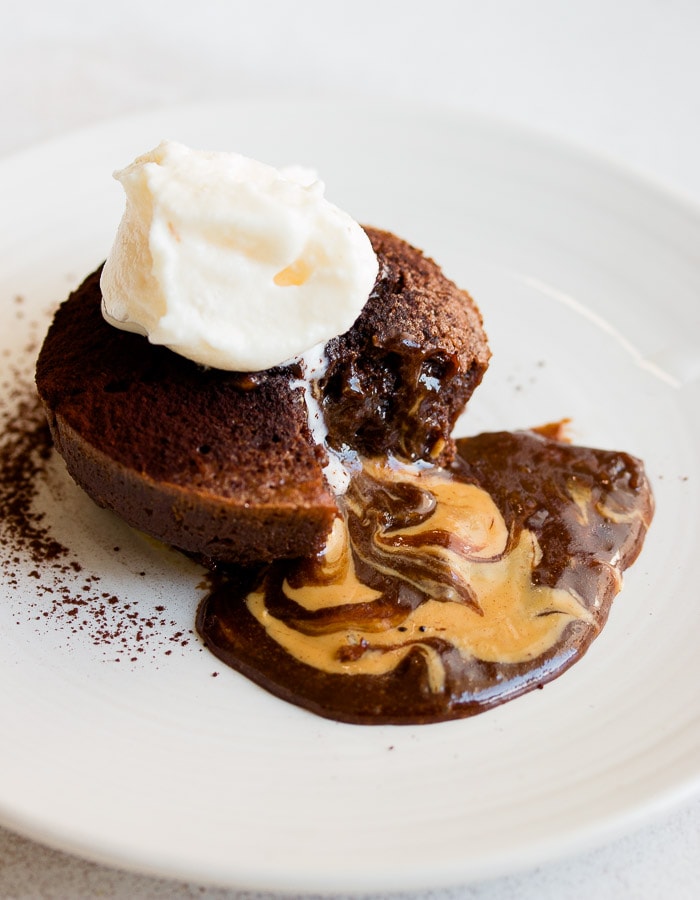
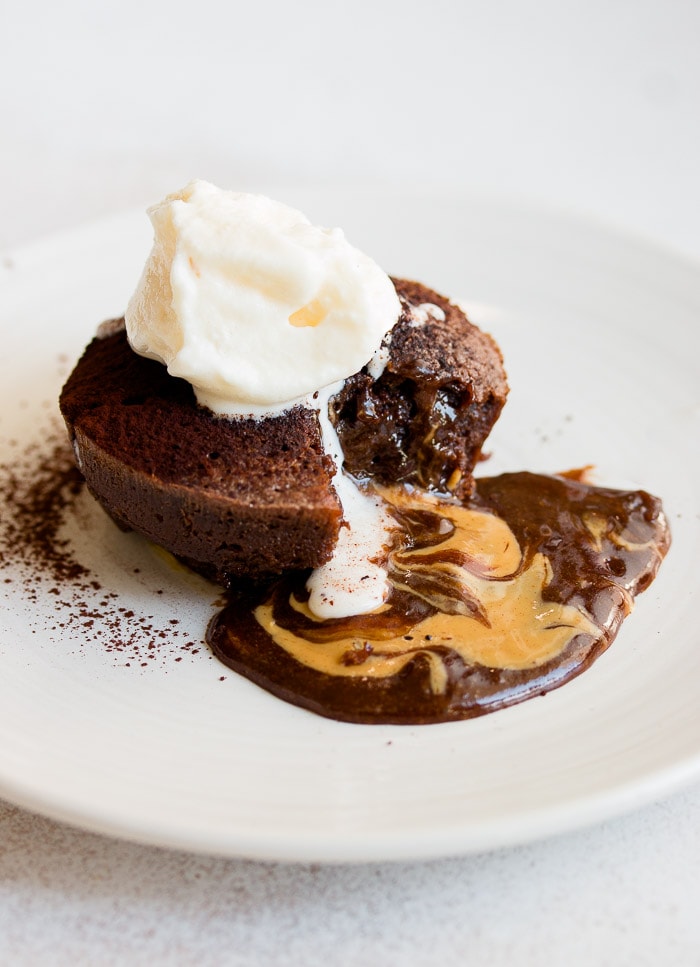
For a showstopping presentation, I like to serve these Chocolate Peanut Butter Lava Cakes inverted on a plate topped with a scoop of ice cream. If you want to do the same, you’ll need to remove the cakes immediately from the ramekins after baking, or as soon as you can handle them.
Run a thin knife around the edges, loosening up the sides, and invert the ramekins onto serving plates. Let them sit for a few seconds so the cake can release, and gently lift them off making sure not to catch any stuck-on edges. You can eat these directly from the ramekins, letting people dig into their cakes like I do with my Chocolate Mug Cake.
This Chocolate Peanut Butter Lava Cake recipe is best enjoyed immediately, but you can also make them in advance and heat them up for a few seconds in the microwave so the molten center warms up. Be careful not to microwave them for too long, as you don’t want to continue any baking.
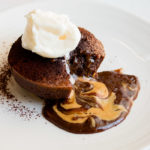
My favorite way to top these cakes is with a scoop of vanilla ice cream that melts along with the chocolate peanut butter liquid center. They are also decadent on their own, dusted with powdered sugar or cocoa powder for decoration. This simple Chocolate Peanut Butter Lava Cake recipe is a perfect treat for your Valentine, and you can each have your own so you won’t be fighting over the last bite.
More Chocolate Peanut Butter Recipes
- Chocolate Peanut Butter Squares
- Chocolate Peanut Butter Biscotti
- Peanut Butter Chocolate Chip Cookies
- Chocolate Peanut Butter Mousse Parfait
- Peanut Butter Balls
- Snickers Cupcakes
Chocolate Peanut Butter Lava Cake
Ingredients
- 150 g (5.3 oz.) dark/bittersweet chocolate , coarsely chopped
- ½ cup (1 stick/115g) unsalted butter, cut into cubes, plus extra for greasing the ramekins
- 3 large eggs
- ⅓ cup plus 1 tablespoon (80g) granulated sugar
- ⅛ teaspoon salt
- ¼ cup (35g) all-purpose flour
- ¼ cup (60g) creamy peanut butter (about 2 teaspoons per cake)
- cocoa powder , for dusting
Instructions
-
Preheat oven to 400F/200C. Generously butter 4-5 ramekins (depending on the ramekin size) and dust with cocoa powder, tapping the ramekins slightly to remove any excess.
-
Melt chocolate and butter together, either in the microwave in 20- to 30-second intervals or in a heatproof bowl set over a pan of gently simmering water. Once melted, remove bowl from heat and set aside to cool for 5 minutes.
-
In a small bowl, whisk together eggs and sugar until well combined. Add the egg mixture to the chocolate mixture and mix until combined. Add salt and flour and fold just until combined.
-
Divide batter into prepared ramekins. Place a heaping teaspoon of peanut butter in the centre of each ramekin, on top of the batter, then slightly press it down using the back of the teaspoon into the batter until you can only see part of it (see photo above for a visual.). Bake for 11-13 minutes, until a thin crust has developed on top of the cake and the center jiggles slightly when gently shaken. If you want to loosen cakes from the ramekins, immediately run a thin knife around the edges and invert onto serving plates (if it’s too hot to handle you can let it cool for 5 minutes). Let the ramekins sit for a few seconds, then gently lift them off. Serve immediately. Dust with powdered sugar or cocoa powder or serve with whipped cream or ice cream if you like.

Farah says
Hi! Can I use cookie butter instead of peanut butter??
Shiran says
Yes 🙂
Bjorn Kemper says
i think this i good not like tasty but is good