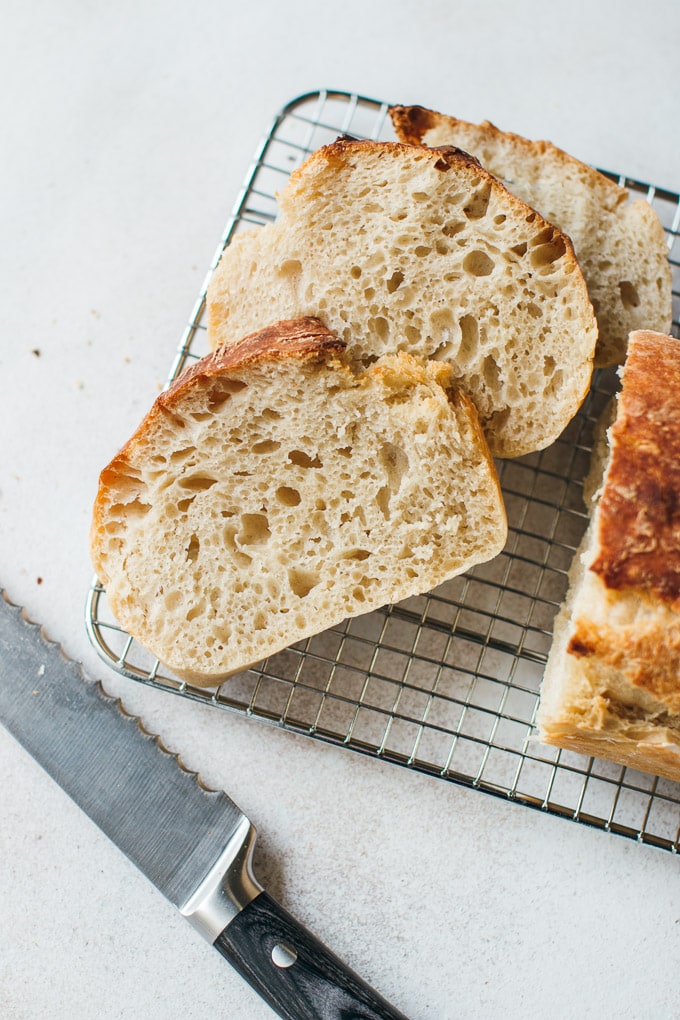
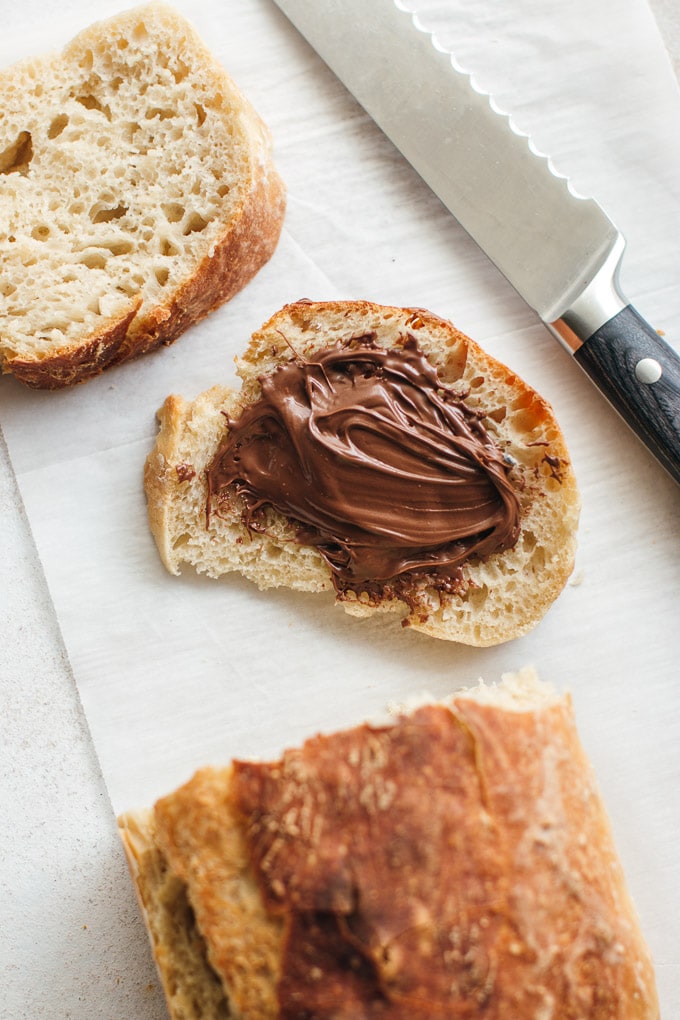
This simple, no knead bread looks and tastes like it came from a bakery. An overnight rest gives this loaf lots of flavor without any effort. This is my go-to bread recipe!
Warm, fresh bread is one of the greatest joys in life, made only better with a smear of melty Nutella. Bread baking can be intimidating and a lot of work, but this no knead overnight bread is the opposite, only requiring patience and a hot oven.
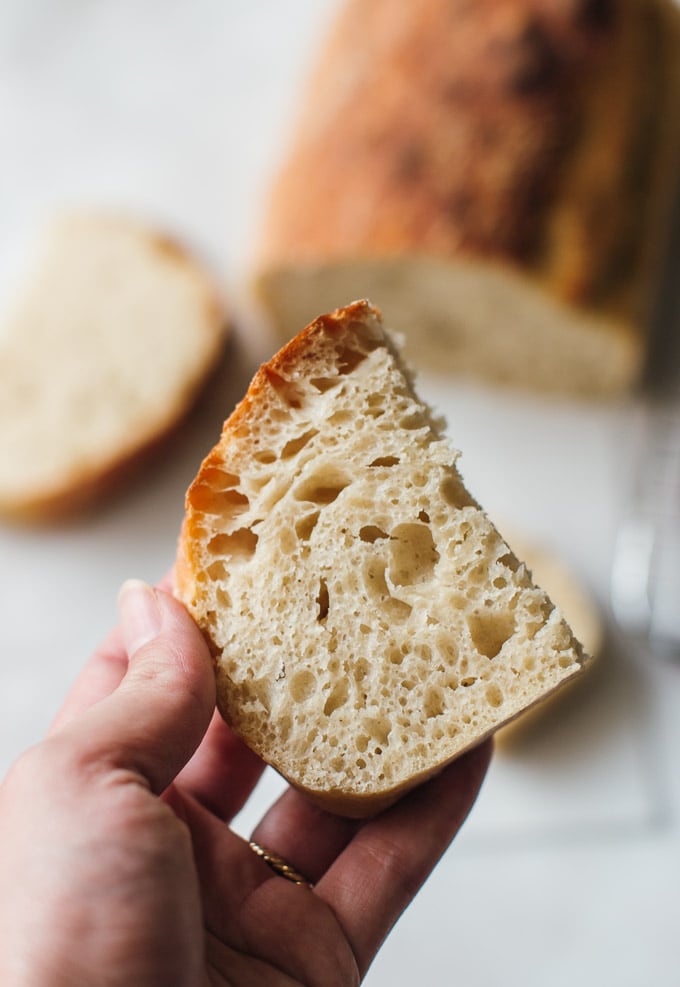
This easy no knead bread is exactly that – no kneading, no stand mixer, no starter, and only 4 ingredients. I’ve spent a lot of time experimenting with this recipe, testing out different baking options and flour to water ratios, finding the perfect no knead bread recipe that is foolproof for everyone. I’m sharing a detailed step-by-step guide to make the best no knead bread so everyone can enjoy some fresh bread at home. The recipe can easily be doubled to store extra loaves in the freezer.
What is no knead bread?
No knead bread first became popular after bread baker Jim Lahey shared his recipe with the New York Times almost a decade ago. It’s become a popular technique amongst beginner and seasoned bread bakers alike for it’s incredible ease and delicious flavor.
The secret to the recipe is the hands-off approach. For easy no knead bread, you simply do just that: don’t knead it. Instead, you let the dough rest overnight so the yeast can ferment and give the bread great flavor. This long, slow fermentation is what makes this no knead sandwich bread stand out, so give yourself some patience and a break from kneading.

Baking options for no knead bread
There are several ways to bake this quick no knead bread, each offering their own pros and cons. I prefer to use a loaf pan which creates a softer sandwich-style bread, but all of the options below result in delicious, tasty bread.
Baking options include:
- Dutch oven: For a bakery style loaf, this method is the way to go. A Dutch oven holds heat well and keeps steam inside, giving you that crispy crust similar to a baguette.
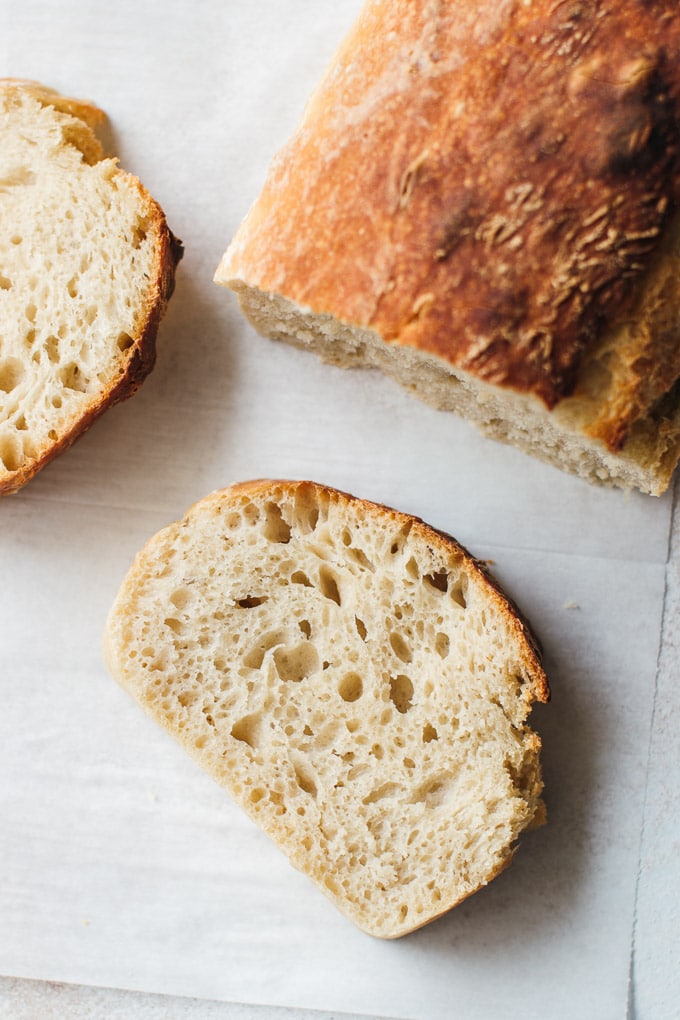
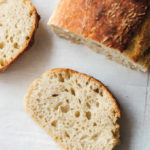
- Loaf pan: My favorite option, this loaf has a lighter, golden color and softer texture than the Dutch oven. It’s perfect for sandwiches since it creates a taller bread.
- Baking sheet: The final loaf will be more round and less tall, but have a similar taste and texture to the loaf pan method.
Would you like to save this recipe?
How to adjust the recipe for loaf pan or baking sheet
The instructions in the recipe below are for baking the bread in a Dutch oven. However, you can easily adjust the recipe to be baked on a sheet pan or a loaf pan (my personal preference).
If you bake the bread in a loaf pan (I use 9×5 inch pan) or on a baking sheet:
After the first rise and after folding it over onto itself (you’ll find this in instruction #3 in the recipe), shape the dough into a rectangle (it really doesn’t have to be perfect!) and place the dough seam side-down in a loaf pan lined with parchment paper or on a baking sheet lined with parchment paper.
Cover the dough loosely with a towel or plastic wrap and let it rise at room temperature for 1.5-2 hours until it doubles in size.
Preheat the oven to 450°F/230°C. When the dough is done with its second rise, dust the top of the dough with a bit of flour and make a shallow cut lengthwise with a knife to allow it to expand during baking. Bake for 30-35 minutes or until the top of the loaf has just begun to brown. It won’t have a deep brown color, rather golden/bright brown.
Allow it to cool at room temperature for at least one hour before slicing.
How to make no knead bread: the first rise
These are the basic steps to making this easy no knead bread (more detailed instructions below). As long as you plan ahead, you can make this no knead overnight bread without much effort and using basic pantry staples.
- Mix together the flour, instant yeast, and salt (You don’t need to let the yeast activate before using because this recipe uses instant yeast).
- Add in the water and mix with a wooden spoon until you have a shaggy, wet and sticky dough.
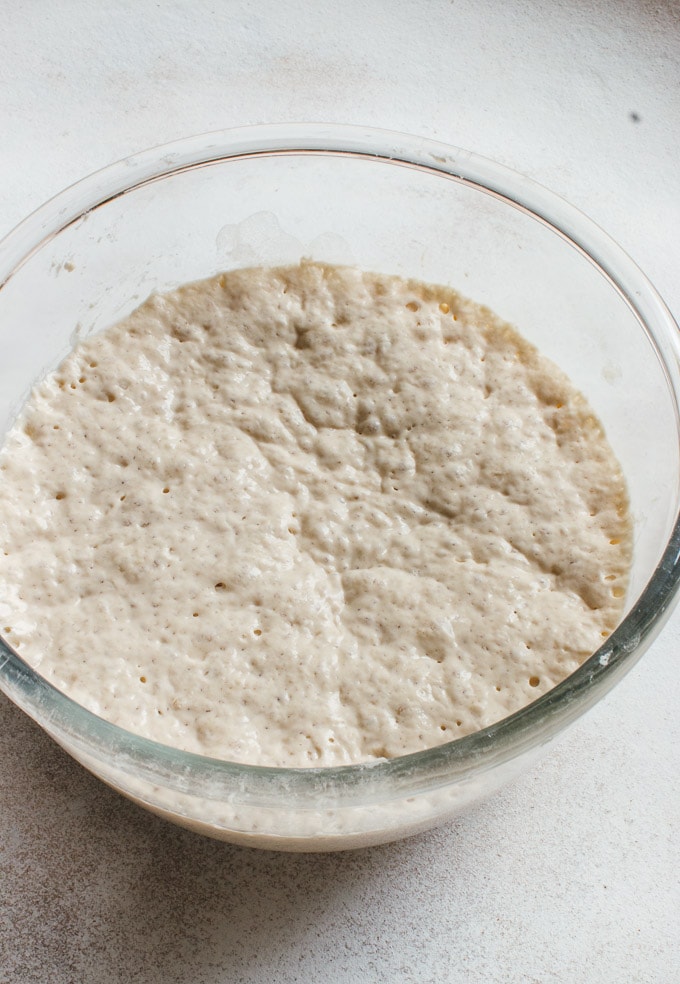
- Cover the bowl with plastic wrap and set it aside to rest at room temperature for 12-18 hours. I like to stir everything together before going to bed, letting the dough rest overnight.
The second rise
In the morning, you’ll know your dough is ready when bubbles appear on the surface. At this point, the dough will be quite loose and sticky. Don’t add more flour or knead the dough. Instead, transfer the dough to a floured surface and using floured hands, gently fold the dough over itself into a ball.
Then, place it seam side down onto a piece of parchment paper and cover loosely with a towel for a shorter second rise of 1.5-2 hours.
30 minutes before your second rise is done:
- Preheat the oven and place the Dutch oven inside (if using).
- When the dough is done rising, carefully take out the Dutch oven and remove the lid.
- Quickly transfer the dough into the hot pot with a piece of parchment paper underneath.
- Make a shallow cut on the top of the dough so the bread can expand while baking.
- Cover the lid and place the pot back in the oven to bake for 30 minutes. Remove the lid and continue baking 15-30 minutes longer, until the loaf has darkened to a deep brown color.
Be sure to let the no knead bread cool for at least an hour before slicing. Patience is everything for the best no knead bread. Waiting is the hardest part about this recipe, but nothing is better than a slice of fresh, effortless, homemade bread!

More of my favorite bread recipes
- Focaccia: Classic Italian bread with flavors of olive oil.
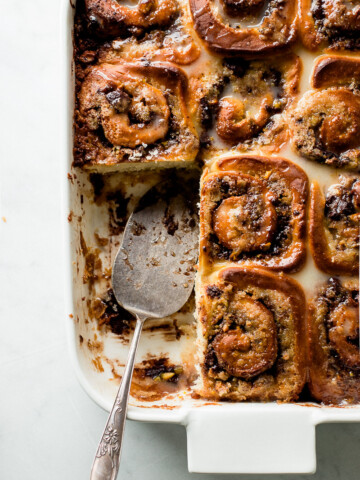
- Chocolate Babka: Ok, I had to slip one dessert in here 🙂 Babka is a sweet, brioche style loaf swirled with chocolate!
- Garlic Knots: Irresistibly delicious.
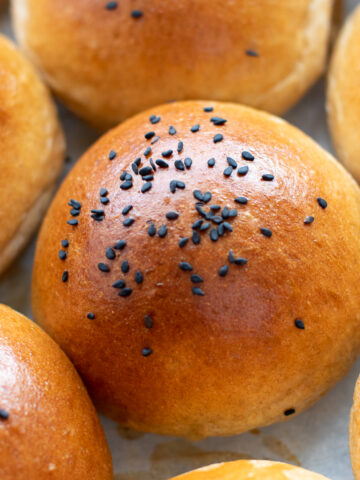
- Brioche: Sweet, rich, and buttery.
- Challah: Light, fluffy, and tender, this bread is delicious anytime of day! It also makes excellent French toast.
Easy No Knead Bread
A light and fluffy no-knead bread that's full of flavor and takes no effort at all to make!
Ingredients
- 3 cups (400g) all-purpose flour
- ¼ teaspoon instant yeast
- ½ tablespoon salt
- 1 ½ cups (360 ml) room temperature water
Instructions
-
In a large bowl mix together the flour, yeast, and salt. Add the water and mix with a wooden spoon until you have a shaggy, sticky dough. You want it to be quite sticky, it will be OK, trust me.
-
Cover the bowl with a plastic wrap and set aside to rest at room temperature (but not in direct sunlight) for 12-18 hours – it’s best if you just let it rest overnight. After 12-18 hours the surface should be dotted with bubbles.
-
After rising, the dough will be quite loose and sticky. This is OK. Don’t add more flour. Don’t knead the dough. Instead transfer the dough to a floured surface and use floured hands to gently and quickly lift the edges of the dough in toward the center, folding the dough over onto itself. Tuck in the edges of the dough to make it round. Place the dough, seam side down, on a large piece of parchment paper. Cover the dough loosely with a towel or plastic wrap and let it rise at room temperature for 1.5-2 hours until it doubles in size (in cold weather rising will be slower).
-
***A half hour before the dough is done with its second rise, preheat the oven to 450°F/230°C. Adjust the oven rack to the lower third position and place a large (6-8-quart) heavy pot and its lid.
-
When the dough is done with its second rise, carefully remove the pot from the oven and uncover it (be careful, it will be very hot). Quickly but gently transfer the dough with the parchment paper into the pot, being very careful not to touch the pot. Dust the top of the dough with a little flour and make a shallow cut lengthwise with a knife to allow it to expand during baking (the purpose is primarily to control the direction in which the bread will expand – note that for the bread I shot for these photos I skipped this step and you’ll see that it expanded to the side instead of the top. That’s ok too, it’s mostly for appearance). It may look like a mess, but it will turn out beautifully. Cover with the lid and bake for 30 minutes. Carefully remove the lid and bake until the loaf has a deep brown color, 15 to 30 minutes more. Use pot holders to carefully lift the bread out of the pot and place it on a wire rack. Allow it to cool at room temperature for at least one hour before slicing.
-
The bread is best the same day it's made, but it can be frozen for up to 2 months (I recommend cutting the bread to slices before freezing).
Recipe Notes
***This recipe uses the Dutch oven/heavy pot method, but it’s possible to bake the bread in a loaf pan or a baking sheet instead. Read the above post to learn how to make these adjustments (its simple, I promise).


Linda Gardepe says
This sounds wonderful, however I only have active yeast. What adjustments do I make for Active yeast?
Thank you
Shiran says
You can use the same amount of active dry yeast instead.
Vrushali says
Perfect elaborate well described receipe. My no knead Bread also was a success. Thanks Shiran !!
SB says
This looks absolutely delicious and I am hoping to try it soon! Would a 9 x 5 inch loaf pan be okay to use for the pan option?
Joseph says
This bread is delicious and so easy. Thanks Shiran! I agree with Charlotte, please do some more babka recipes.
sassygirl says
jim lahey’s no knead bread is justifiably
famous. your recipe is outstanding, easy and so hands off it’s almost silly! but the end result is
so so good!!
thanks for sharing!
😬
Tracy McMillan says
Can I use sourdough starter instead of yeast ? If so how much starter would I use. I’m a beginner bread maker & just started making sourdough bread from my own starter which has been very successful, but I’m after a sandwich bread which I believe you can achieve using sourdough?
Talia @ Pretty. Simple. Sweet. says
Hey Tracy! You an adapt recipes that use yeast and replace it with sourdough starter, but it requires you to alter the recipe a bit. This article is a great guide if you are interested.
Shsh says
Baking it for only 30 mins after the 2nd rise was unacceptable for me.
The next morning, after I baked it for 30 mins and let it “cool off,” left it ridiculously wet on the inside so I had to throw it back in the loaf pan and bake it for 30 more mins at 450 when I got home from work.
Less than acceptable results.
Stephanie @ Pretty.Simple.Sweet. says
Hello, the instructions explicitly state “Cover with the lid and bake for 30 minutes. Carefully remove the lid and bake until the loaf has a deep brown color, 15 to 30 minutes more.” So after the second rise, it should have baked for 45-60 minutes. You’re right, 30 minutes is absolutely not long enough.
Linda Rabener-Justice says
Do I need to use instant yeast? I only have use “regular yeast”?
Stephanie @ Pretty.Simple.Sweet. says
Hi Linda, this recipe will only work as written. Using dry yeast requires blooming it first in warm water to activate the yeast. Here’s a great article about fully understanding the differences in yeast – https://www.kingarthurbaking.com/blog/2022/08/15/active-dry-versus-instant-yeast