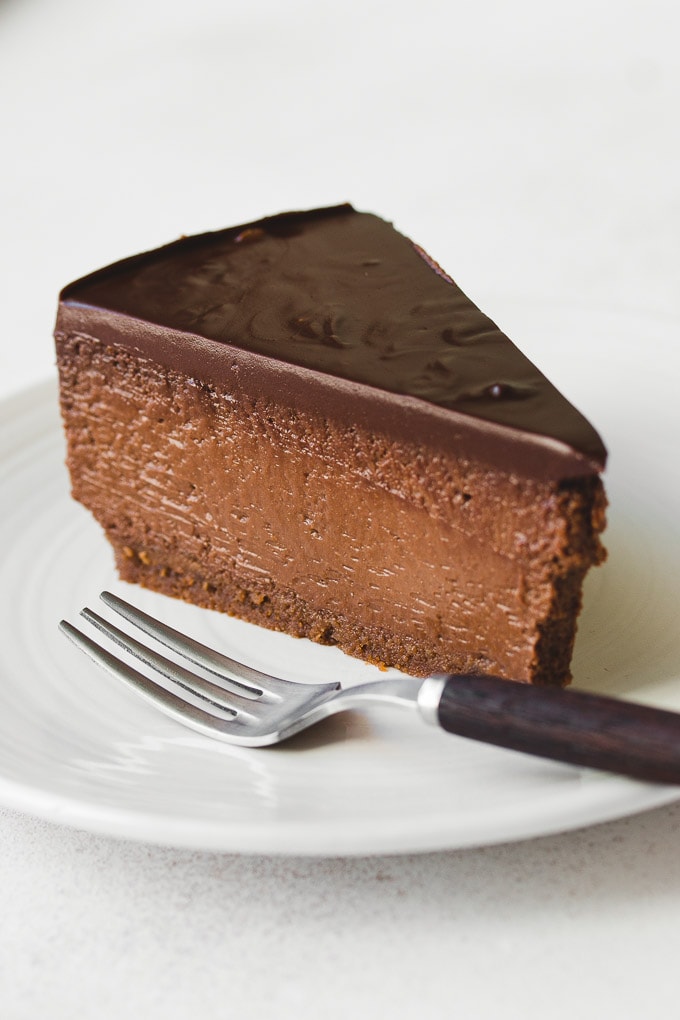
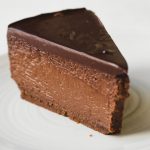
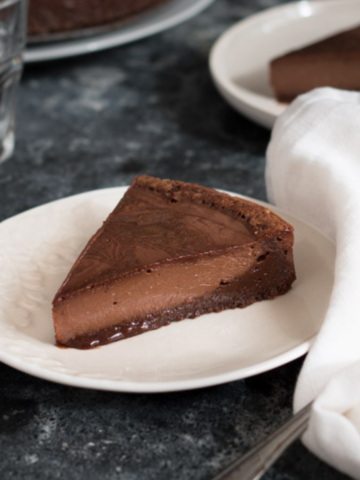
This triple chocolate cheesecake is a chocoholics dream. With chocolate in every layer, this rich and creamy cheesecake is a blissful dessert. Follow along for some tips to make a creamy, no-fail cheesecake that will make your chocolate dreams come true.
Nothing is more rewarding than baking a cheesecake that is perfectly smooth, creamy, decadent and full of chocolate. While it can seem intimidating since it’s a custard-based dessert that is prone to cracks and lumpy fillings, learning how to use a simple waterbath (think of it like a steam room for your cheesecake) will put your nightmares to rest and make your cheesecake dreams a reality (it’s super simple and I’m going to teach you how!)
I have several cheesecake recipes on the blog, like classic Cheesecake, New York cheesecake, and chocolate peanut butter cheesecake, but this chocolate cheesecake recipe is inspired by the Godiva chocolate cheesecake from the Cheesecake Factory. It has a deep chocolate flavor that complements the tanginess from the cream cheese. As someone who loves all things chocolate, I’ve used it in every layer of this chocolate cheesecake recipe. A triple chocolate threat, this one is for true chocolate lovers out there.
How to make chocolate cheesecake
This cheesecake is made of three delicious layers:
- Chocolate cookie crust
- Rich chocolate cheesecake filling
- Chocolate ganache topping
Make the chocolate cookie crust
Note: You can use any chocolate wafer cookies for the crust, or even try using Ore o crumbs if you’d like!
- Grind up the cookies. Using a food processor, grind the cookies up very fine. if you don’t have a food processor, you can seal the cookies in a large Ziploc bag and use a heavy object, such as a rolling pin, to break up the cookies
- Combine crumbs with melted butter. The mixture should resemble damp sand.
- Press into a 9-inch springform pan. Use your fingers to firmly press the cookie mixture into the bottom of a springform pan to create the crust layer.
- Bake. Bake the crust for 8 minutes. This helps it to solidify and prevents it from becoming soggy once the cheesecake filling is baked on top of it.
Make the cheesecake filling
- Melt chocolate, heavy cream, and cocoa powder together. Place in a medium-sized heat proof bowl and microwave in 20-30 second increments, mixing in between, until the chocolate is melted and the mixture is smooth. Allow mixture to cool.
- Beat the cream cheese and sugar together. In an electric mixer fitted with the paddle attachment, beat room temperature cream cheese until smooth and lump-free, for about 1-2 minutes. Then, add the sugar and beat until blended. Tip: I highly recommend keeping a rubber spatula nearby to scrape down the bottom and sides of the bowl to incorporate all ingredients.
- Add the eggs. Add each egg one a time, making sure each is fully combined before adding the next one.
- Pour in the chocolate mixture. Mix in chocolate mixture, vanilla extract, and liqueur if using. Mix just until your cheesecake filling is fully incorporated.
- Bake. Pour the cheesecake filling on top of your cooled crust. Then, place it in a large roasting pan and fill the pan halfway with warm water, creating a water bath. Gently place the cheesecake in the oven and bake for 60-70 minutes.
- Chill. Allow your cheesecake to cool to room temperature before toppong with chcolate ganache.
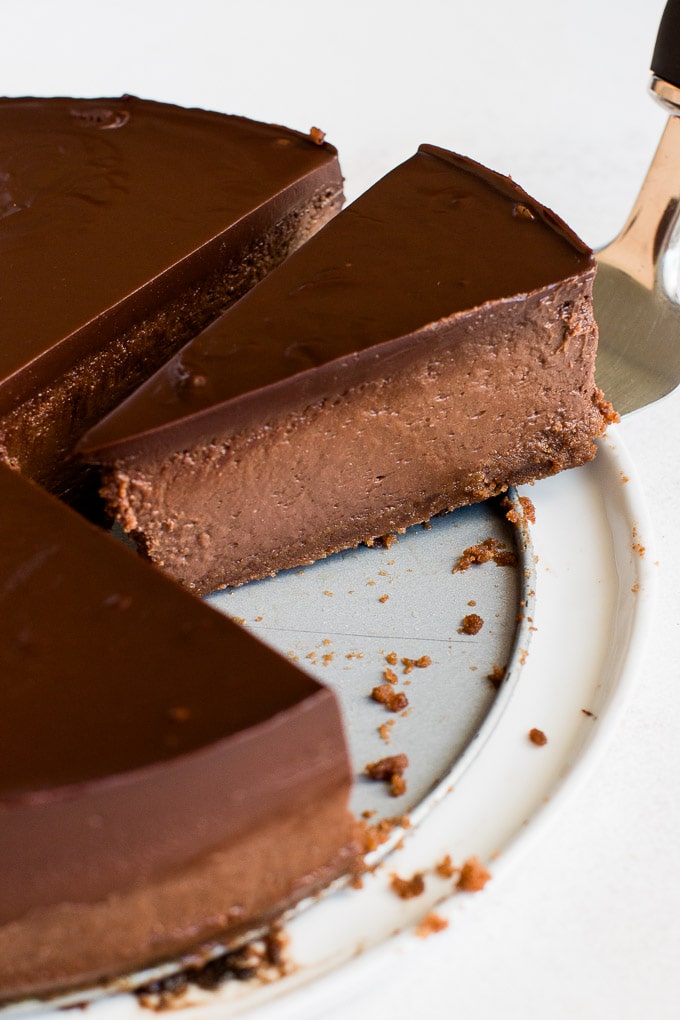
Make the chocolate ganache topping
The chocolate ganache topping is entirely optional, but if you’re going all-in on chocolate, why not add a final chocolate topping?
Would you like to save this recipe?
The ganache is simply made by melting together chocolate and heavy cream in the microwave. Be sure to do this in 30 second increments and mix in between each so the chocolate does not burn. Then, pour the ganache over the cooled cheesecake for a smooth finishing touch.
Note: Once you pour on the chocolate ganache, you’ll need to allow your cheesecake to chill for at least 8 hours before serving (it’s difficult, I know, but worth it!).

Why do I need to use a water bath for cheesecake?
Custard-based desserts, like cheesecakes and crème brulee, are baked in water baths because they are liquid and contain eggs. Therefore, its important to bake them very carefully so the eggs don’t curdle when they get hot (think about how an egg immediately curdles when you place it on a frying pan).
However, using a water bath allows the heat from the oven to distribute more evenly and at a slower pace. This produces an incredibly creamy texture free of curdled egg or cracks on the top of your cheesecake. This is also why cheesecakes are baked at a lower temperature for a longer period of time – it helps keep them from curdling.
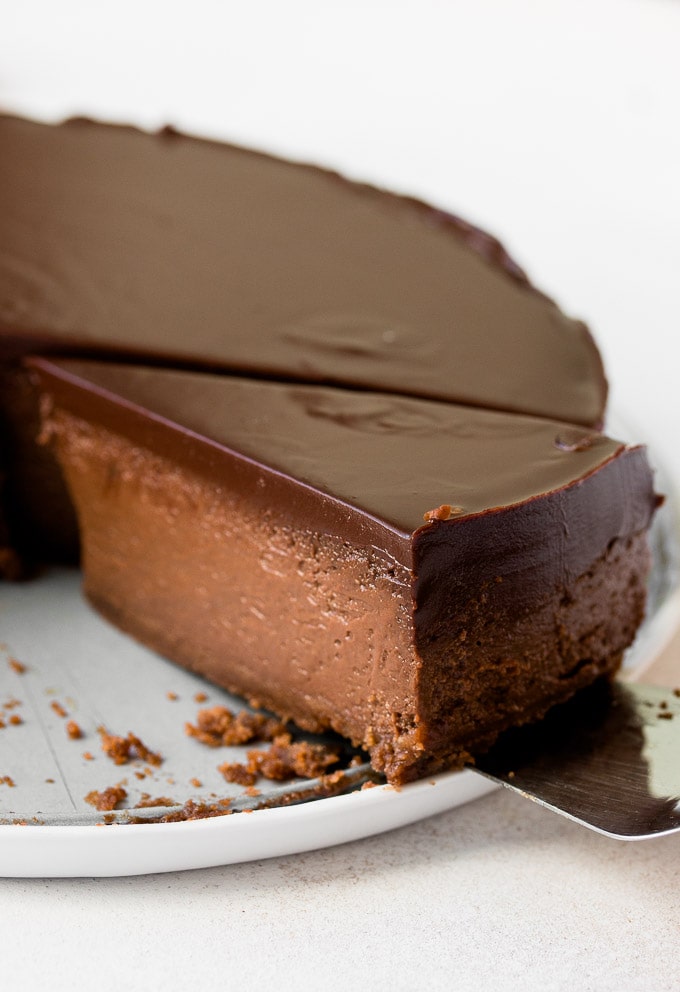
How do I know when my cheesecake is done baking?
The cheesecake is done baking when the sides are set and slightly puffy, but the center is still a bit wobbly when you give the pan a small jolt.
Does it matter what type of cream cheese I use?
Stick with full-fat cream cheese for the best cheesecake of your life. Both tub or block form cream cheese will work, but stay away from whipped or flavored varieties.
Tips for making perfect chocolate cheesecake
- Use room temperature ingredients for your cheesecake filling. This helps the ingredients emulsify together more easily and helps create a lump-free cheesecake filling. I highly recommend letting your ingredients sit at room temperature for 45 minutes-1 hour before baking.
- Use good quality chocolate. Chocolate is the star ingredient of your cheesecake, so the better quality you use, the better your cheesecake will taste.
- Don’t skip the water bath. While your cheesecake will bake without one, using a water bath creates a silky-smooth, creamy cheesecake without any lumps or cracks on the top. Without a water bath, the cheesecake filling will have a slightly curdled texture and most likely a few cracks on the top.
*Water bath tip: The easiest way to prevent water from splashing around is to place your roasting pan in the oven first. Then, place the cheesecake in the middle of the pan and pour the hot water while the roasting pan and cheesecake are already placed in the oven. - Wrap the sides of your cheesecake pan with foil. This prevents any water from leaking in.
- Allow the chocolate ganache to cool before topping. If you pour very hot chocolate ganache on top of your cheesecake, it might melt or indent the cheesecake. Allow it cool slightly so it’s just slightly warm but still pourable. Use a spatula or large spoon to spread on the top of your cheesecake before chilling.
- Chill chill chill. Don’t skip chilling your cheesecake for the full 8 hours. The easiest way to do this is to simply put it in the fridge overnight (then, if you’re like me, you can have a piece for breakfast). Chilling it completely helps create that rich, velvety-smooth texture.
More delicious cheesecake recipes
- No Bake Nutella Cheesecake: Made with rich and creamy Nutella.
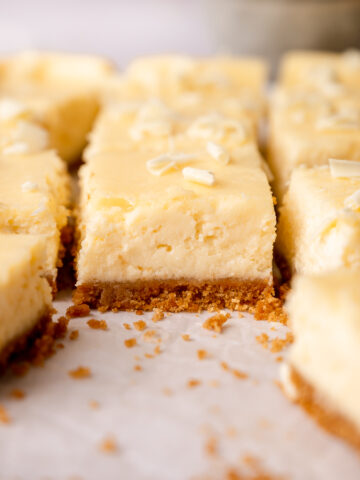
- Chocolate Chip Cheesecake Bars: The perfect cheesecake bar and full of chocolate chips.
- Carrot Cake Cheesecake: The best of both worlds in one!
- Oreo Cheesecake: Creamy cheesecake made with dreamy Oreo cookies!
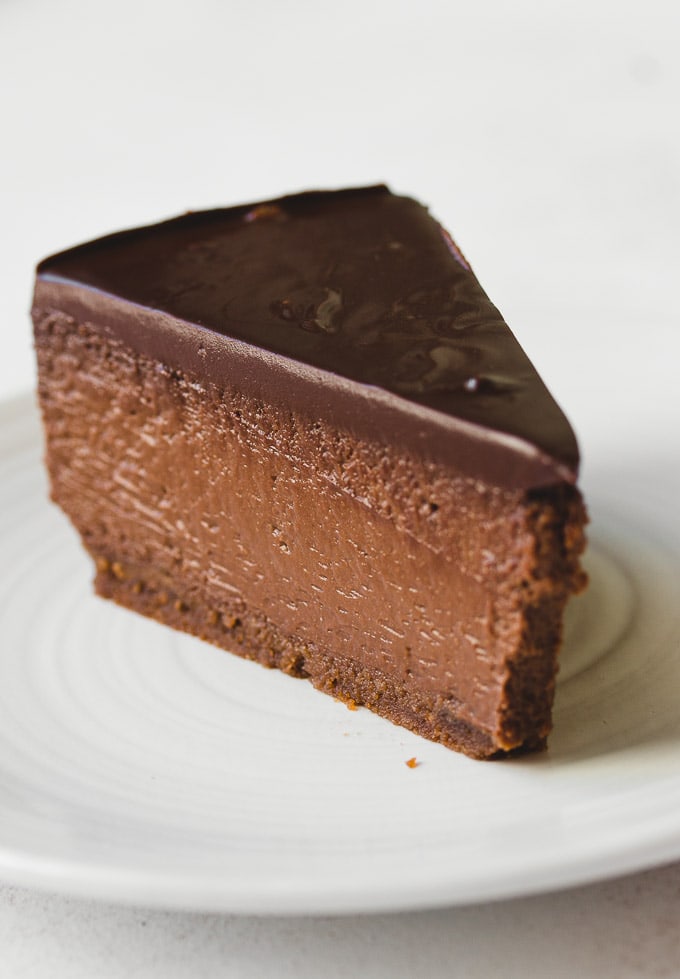
Chocolate Cheesecake
This creamy, decadent chocolate cheesecake is for true chocoholics! It's rich and silky-smooth and tastes like absolute heaven.
Ingredients
Crust
- 1 ½ cups (150g) chocolate wafer crumbs (pulse in a food processor until finely ground, then measure)
- ¼ cup (55g) unsalted butter, melted
Filling
- 340 g (12 oz.) bittersweet or semisweet chocolate, coarsely chopped
- ¾ cup (180 ml) heavy cream
- 3 tablespoons natural (not Dutch-processed) cocoa powder, optional
- 24 oz (680g) full-fat cream cheese, at room temperature
- 1 cup (200g) granulated sugar
- 4 large eggs , at room temperature
- 1 ½ teaspoons pure vanilla extract
- 2 tablespoons chocolate or coffee liqueur , optional
Chocolate Topping
- 240 8 (8 oz.) bittersweet or semisweet chocolate, coarsely chopped
- 1 cup (240 ml) heavy cream
Instructions
-
Preheat oven to 325°F/160°. Wrap the bottom and sides of a 9-inch springform pan with one large piece of foil, then repeat with another piece. This will ensure that water from the bath doesn’t seep into the cake.
-
Make the crust: In a medium bowl combine crumbs and melted butter and mix until crumbs are evenly moistened. Press mixture into the bottom of the pan to form an even layer. Bake crust for 8 minutes. Set the pan on a wire rack and allow the crust to cool completely before adding the filling. Leave oven on.
-
Make the cheesecake: In a medium heatproof bowl, combine chocolate, heavy cream, and cocoa powder if using. Microwave in 20- to 30-second increments, mixing in between, until chocolate is melted and mixture is smooth. Set aside to cool slightly. In a mixer bowl fitted with the paddle attachment, beat cream cheese on medium-low speed until smooth and lump-free, about 1-2 minutes. Add sugar and beat until blended. Scrape down the sides and bottom of the bowl as needed. Add eggs and beat until batter is smooth. Mix in chocolate mixture. Add vanilla extract and liqueur if using, and beat just until combined. Don’t overbeat. Pour batter over the baked crust.
-
Place the pan inside a large roasting pan, then pour enough boiling water into the roasting pan to come halfway up the sides of the cake pan. Place very gently in the oven (if i’s easier for you, you can first place the roasting pan in the oven, and then pour in the water). Bake for 60-70 minutes, until the sides are set but the center is still slightly wobbly. Let cake cool completely to room temperature before adding the topping.
-
Make the topping: In a medium heatproof bowl, combine chocolate and heavy cream. Microwave in 20- to 30-second increments, mixing in between, until chocolate is melted and mixture is smooth. Let cool slightly, then pour over the cake.
-
Cover cheesecake with plastic wrap and refrigerate for at least 8 hours, until completely set. The cheesecake tastes best a day after it’s made. Keep in the refrigerator for up to 5 days.
Supplement Crunch says
Looks delicious!
Felicia Rearick says
Delicious! The only thing I did differently was instead of sticking the cheesecake in a water bath. I placed a pan of boiling water on the rack underneath the cheesecake.
Nat says
Felicia you just saved my life, I realized far too late that I only have flat cookie sheets…
Jose F.Avilez says
Your Chocolate cheese cake,it’s a wonderful dessert for any occasion.
Rebecca says
Whats the texture difference you talk about when you use heavy cream instead of sour cream? Im gonna try to make this for my boyfriend I really want it to be perfect. Any tips? He likes his cheesecake smooth and creamy! I like it crumbly and cheesy haha!!
Shiran says
Hi Rebecca. It’s just a matter of preference really! I like my cheesecake creamy and sweet, and heavy cream is perfect for it 🙂 It sounds like your boyfriend would like this recipe.
Purvi says
Hey.. kindly suggest chocolate brand options.. as taste differs.. Gratitude
Vonda S Richardson says
says 4 cups or 24 oz cream cheese. Which is it ? 4 cups is 32 oz 3 cups is 24oz?
Stephanie @ Pretty.Simple.Sweet. says
Hi Vonda, thank you for pointing that out. It is 24 oz. I have updated the recipe for clarity.
Laraine says
It sounds sinfully delicious, definitely only for when you have quite a few guests. I haven’t made a baked cheesecake since my very first cheesecake over 40 years ago.it was called bistro cheesecake, vanilla flavoured. I don’t remember having trouble with it, though baked cheesecakes are supposed to be harder to make than unbaked. I always use Philadelphia brand cream cheese because it is better (more solid) than Kiwi ones. I have no idea why. Perhaps it’s a matter of personal preference. Other Kiwi cooks might disagree with me.