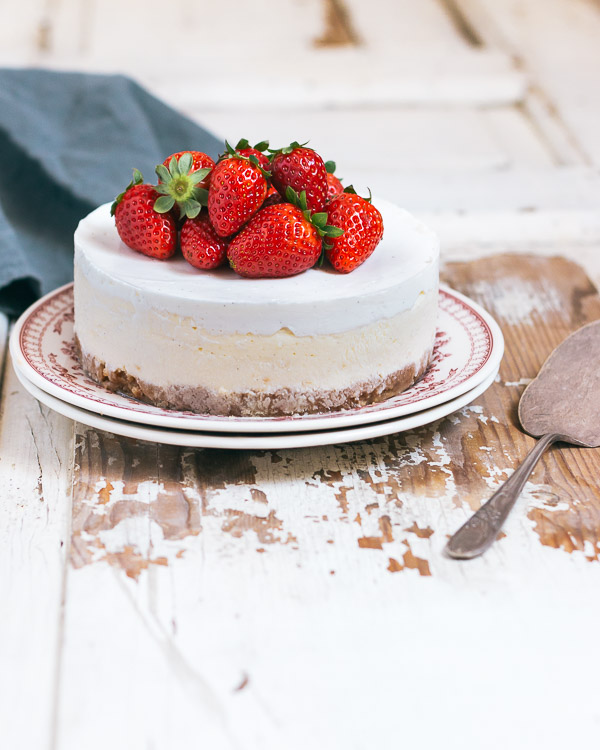
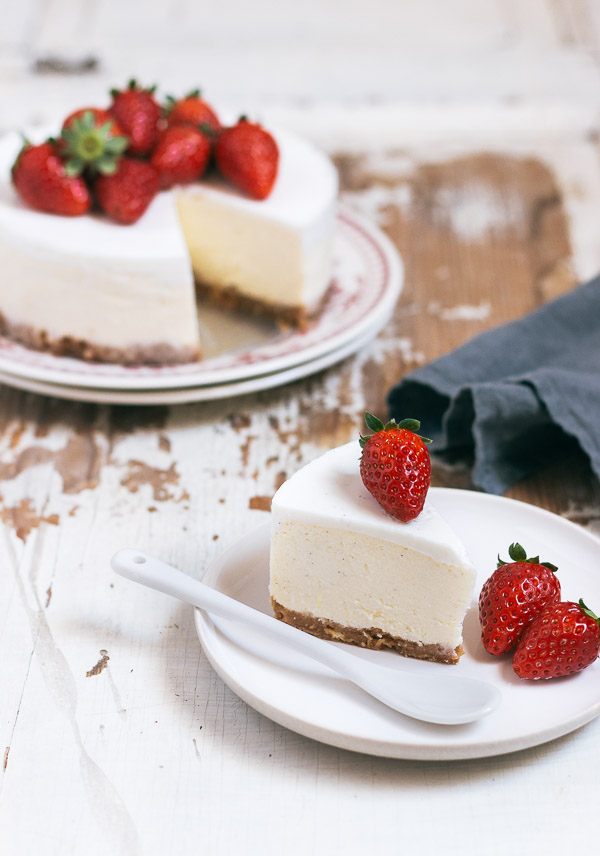
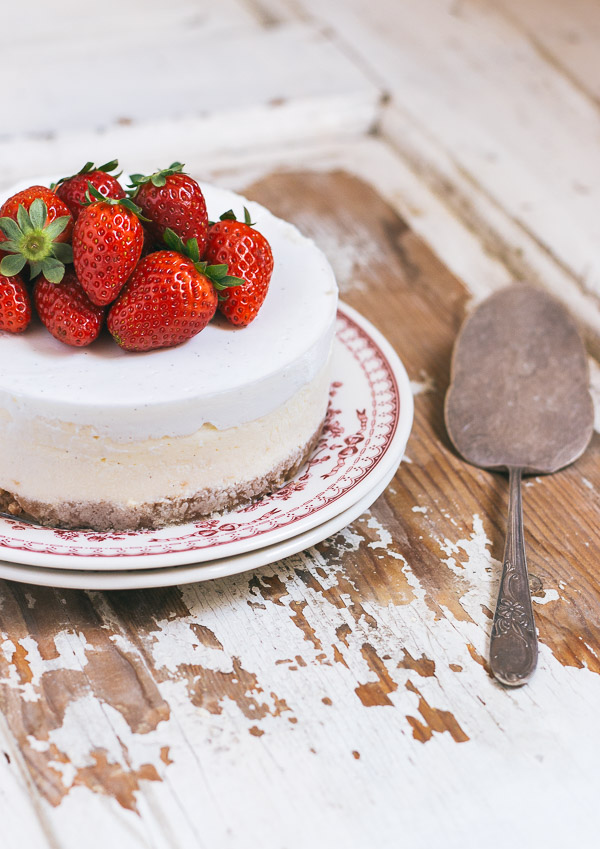
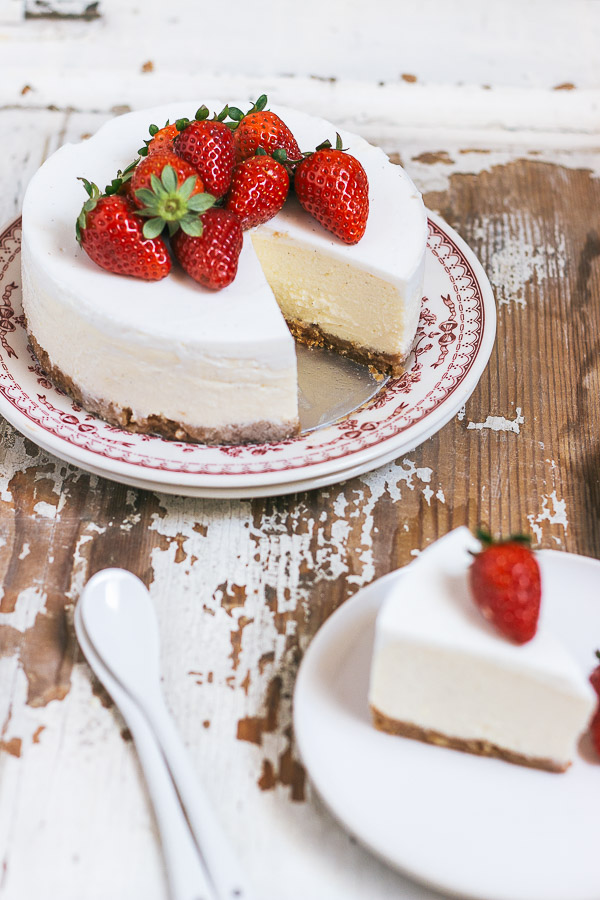
Rich, creamy, and satiny smooth, this is my go-to easy cheesecake recipe. It’s simple to make but yields amazing results. Top it with chocolate, berries, or whipped cream!
This creamy cheesecake recipe is made of very basic ingredients. I love serving it for special occasions or holidays, and topping it with fresh berries and chocolate sauce!
Sometimes, simple is best, as cliché as it sounds, and this recipe is the perfect example of that. Heavy cream adds richness and makes for a delightfully creamy texture. And while it’s optional, I like to top the cake with a tangy sour cream topping that compliments the sweetness of the cheesecake wonderfully. I also like to bake the cheesecake in a water bath, which gives it an exceptional texture, but if you really want to skip that part, I’ve included instructions on how to bake the cake without it.
How to make cheesecake
Make the crust
Traditional cheesecake uses graham crackers for the crust, but feel free to use vanilla wafers or biscuits.
- Grind up the cookies. Do this in a food processer. If you don’t have one, place the cookies in a large plastic bag and use a heavy object to break up the cookies.
- Combine with melted butter. The cookie mixture should feel like wet sand.
- Bake. Press the crumbs firmly into the base of a 9-inch springform pan and bake for 8 minutes until golden brown. Allow to cool completely.
Prepare the cheesecake filling
- Beat the cream cheese. In an electric mixer fitted with the paddle attachment, beat room temperature cream cheese until light and fluffy.
- Add the sugar. Combine completely.
- Add eggs. Add each egg and emulsify one at a time.
- Pour in cream, vanilla extract, and lemon zest. Combine these ingredients and use a rubber spatula to scrape down the sides of the bowl to ensure that all ingredients are incorporated.
- Bake. Pour filling into the pan over your cooled crust.
If using a water bath: Line the bottom half of the outside of the pan with aluminum foil to prevent water from leaking in. Place the pan into a larger baking dish and fill the dish up with hot water so it comes up halfway of the springform pan. Gently place both pans together in a 325°F/160°C oven and bake for 60-70 minutes, until the center is just slightly wobbly.
If baking without a water bath: I highly recommend baking with a water bath to ensure the smoothest consistency, but if you want to skip this step here’s how to bake the cheesecake without a water bath for the best results.
After baking the crust, increase oven to 425°F/220°C. Bake cheesecake for 10 minutes, then lower temperature to 225°F/110°C and continue baking for about an hour, or until the sides are set but the center is still slightly wobbly. - Cool and top with sour cream topping. Allow the cheesecake to cool for 15 minutes, and then top with sour cream topping. Allow cheesecake to cool to room temperature and then place in the refrigerator to set for a minimum of 4 hours.
When ready to serve, gently run a knife around the edges of the cheesecake before removing the sides of the springform pan.
*Tip: You can certainly eat this cheesecake on its own, but it also tastes amazing with fresh berries, a drizzle of chocolate ganache, or salted caramel sauce (or all three)!
What does a water bath do?
Water baths are used for baking custard-based desserts. Because custards are liquid and contain eggs, they need to be baked extra carefully so the eggs don’t curdle when they get hot (think of what happens when you cook an egg in a frying pan). However, using a water bath allows the heat from the oven to distribute more evenly and at a slower pace. This produces an ultra creamy texture with no curdled egg or cracks on the top of your cheesecake.
Tips for making perfect cheesecake
- Use room temperature ingredients. Let the cold ingredients in the cheesecake batter to warm up by removing them 30 minutes before you plan to use them. It’s more difficult for cold ingredients to emulsify evenly, so warming them a bit helps create a smooth and lump-free texture.
- I highly recommend baking your cheesecake in a water bath. If you want ultra satiny-smooth cheesecake free of cracks, bake it in a water bath if you can. Otherwise, be sure to adjust the oven temperature accordingly as mentioned in the instructions.
- Use full-fat ingredients. Cheesecake isn’t the place to reduce your calories. Use the real, full-fat stuff to ensure rich, creamy, thick cheesecake.
- Line the bottom of your springform pan with foil. If baking your cheesecake in a water bath, don’t skip this step. It helps prevent any water from leaking into your pan and ruining your cake.
- Don’t use a knife to test when your cheesecake is done. This can cause your cheesecake to crack. Instead, test the doneness by giving your cheesecake a gentle shake. You’ll know it’s done when the sides are set but the center is still wobbly.
More of my favorite cheesecake recipes
- New York Cheesecake: Ultra rich and decadent, this recipe requires no water bath to bake.
- No-Bake Nutella Cheesecake: No oven required for this insanely delicious Nutella cheesecake.
- Chocolate Peanut Butter Cheesecake: Made with creamy peanut butter and a crunchy Oreo cookie crust.
- Salted Caramel Cheesecake Mousse: Rich and satiny smooth, this individually portioned dessert is another amazing no-bake option.
- Pumpkin Cheesecake: The perfect fall cheesecake and a great alternative to traditional pumpkin pie.
Simple Classic Cheesecake
Ingredients
Crust:
- 1 ½ cups (150g) vanilla wafer crumbs (pulse in a food processor or blender until finely ground, then measure)
- ¼ cup (55g) unsalted butter, melted
Filling:
- 2 pounds (900g) full-fat cream cheese, room temperature
- 1 cup (200g) granulated sugar
- 4 large eggs , room temperature
- ½ cup (120 ml) heavy cream
- 1 ½ teaspoonds pure vanilla extract
- Grated lemon zest from 1 lemon , optional
Topping (optional):
- 1 cup (240 ml) sour cream
- ¼ cup (30g) powdered sugar
- ½ teaspoon pure vanilla extract
Instructions
-
Preheat oven to 350°F/180°C.
-
In a medium bowl, stir crumbs and melted butter together until combined and moistened. Put mixture in a 9-inch springform pan and press with your fingers (or use the bottom of a glass) to form an even layer of crumbs. Bake for 8-10 minutes, until golden brown. Allow to cool completely on a wire rack. Meanwhile, prepare the filling.
-
In a mixer fitted with the paddle attachment, beat cream cheese on medium-low speed until smooth and lump-free, about 1-2 minutes. Add sugar and beat until blended. Scrape down the sides and bottom of the bowl as necessary. Beat in eggs, one at a time, until fully combined. Add cream, vanilla extract, and lemon zest and beat just until combined and smooth. Pour batter over cooled crust and spread evenly.
-
If baking in a water bath: After baking the crust, reduce oven temperature to 325°F/160°C. Wrap the bottom and sides of the pan with one large piece of foil, then repeat with another piece. This will ensure that water from the bath doesn’t seep into the cake. Place the pan inside a large roasting pan, then pour enough boiling water into the roasting pan to come halfway up the sides. Place gently in the oven and bake for 60-70 minutes or until the sides are set but the center is still slightly wobbly.
-
If not baking in a water bath: After baking the crust, increase oven to 425°F/220°C. Bake cake for 10 minutes, then lower temperature to 225°F/110°C and continue baking for about an hour, or until the sides are set but the center is still slightly wobbly.
-
Allow cake to sit at room temperature for 15 minutes, then prepare the topping by whisking together sour cream, powdered sugar, and vanilla extract until smooth, and pour it over the warm cake. Let cool completely to room temperature, then refrigerate for at least 4 hours, preferably more, until completely set.
-
Cover cheesecake with plastic wrap and keep in the refrigerator for up to 5 days.

Winnie says
שמחה לשמוע שנהנית בחו”ל, וברור שעשית הרבה קניות 🙂 זה חלק מהכייף שלנו בחו”ל
העוגה שלך נהדרת ועשירה והצילומים מדהימים
היא נהדרת לחג השבועות שמתקרב……
בנתיים אני מאחלת לך ולכל משפחתך פסח נהדר 🙂
Shiran says
Thank you so much Winnie! Happy Passover! 🙂
Chichi says
This cheesecake looks absolutely delicious
Shiran says
Thank you Chichi!
Mariana says
gorgeous photos!!
Shiran says
Thank you Mariana!
Thalia @ butter and brioche says
Such a perfect cheesecake!
Shiran says
Thank you Thalia!
Sabine says
Even if your mind is still in Spain, your hands managed to make a wonderful cake. I really adore your recipe for being quite classic in the best way I could possibly mean! Your photos are very lovely as well!
Shiran says
Classic recipes are my favorite, and I always try many recipes to find the best ones! I also like simplicity 🙂 Thank you so much for the lovely words!
Alexandra @ Confessions of a Bright-Eyed Baker says
Words can’t even explain how gorgeous this cheesecake looks. Beautiful presentation!!
Shiran says
Thank you so much Alexandra!
Renee says
all I can say is YUM!!!!!
Liz says
Beautiful cake! Just a question about the not baked in water bath part, 10mins at 230C and then an hr at 110C, is this with the crust already at the bottom? Meaning that the crust also gets baked again with the cream cheese part?
Thx
Shiran says
Hi Liz, you need to bake the crust at 350F for about 8 minutes and then let it cool completely. While it’s cooling, increase the oven temperature to 230C. Pour the cheesecake batter over the crust and bake as instructed. Follow the recipe as is, and skip step 4.
Helen says
Made this cheesecake today. Found it easy and relatively quick. It turned out lovely and delicious. I will make this again for sure.
Syntra says
I read somewhere that you could put V a pan of water on the bottom rack of the oven instead of a water bath.
Can this method work?
Shiran says
Hi Syntra, it is possible, but if you just use a pan of water at the bottom of the oven, you get half the benefits of the water. You can bake a cheesecake without any water at all, but you’ll get better results with water than without, and you will get better results if you use a water bath. It’s up to you. The texture will be better and less dry when using a water bath.
Teresa Mix says
Hello, thank you for your time and have work to test for us.
My question is probably silly but, when do you remove from pan? I have never used a spring form pan and I am very excited to try your New York Cheesecake.
Thank you. I promise I’m not usually so ignorant
Shiran says
It’s not silly at all 🙂 You remove it once the cake is completely set, after refrigeration.
Kyle says
Do you have too put this in the fridge for 5 days?
Shiran says
You can keep the cake in the fridge for up to 5 days, but you can eat it before that.
Katie LaPage says
Hello! I am looking forward to try this recipe! I am just a college student and all I have is a muffin tin. How would you recommend adjusting this recipe? I’m not so much concerned about the amount of each ingredient as much as the baking time if I use a medium/large muffin tin. Thanks in advance!
Shiran says
Hi Katie. The baking time for muffins is usually 15-20 minutes. If you bake any cheesecake in a muffin pan I recommend using muffin liners so it won’t stick to the pan.
Carissa says
Hi Shiran! This cake looks absolutely gorgeous! I do have one question, which is can I add cookie butter into the batter? Would I need to cut back on any of the ingredients?
Shiran says
Hi Carissa! I’m not sure if it would work for this recipe because the batter is quite liquid.
Rosie says
Hi, I would like to try this recipe. Can I use tsame amount of yogurt instead of sour cream? Thanks in advance
Shiran says
Hi Rosie. For the topping you mean? I wouldn’t recommend it, but you don’t have to use the topping, the cake is great without it.
Jade Orchid says
Beautiful cheesecake; but this looks more like a 7″ more than 9″cake.
Please confirm.
Stephanie @ Pretty.Simple.Sweet. says
Hi Jade! The recipe as written is for a 9″ cheesecake, but you have a great eye! Sometimes, I make a smaller version of the recipe for photographing my recipes, so photographed is this cake in 6-in size. Sometimes I make the same recipe 2-3 times while recipe testing and then I move to photography. As you can imagine… that’s a lot of cake, sugar, cookies, etc. for a house of two adults (our neighbors really love us!). Rest assured, the recipe is accurate as I have made the full size version plenty of times for family gatherings. 🙂 Cheers!